The Fastest, Easiest Way to Bake a Great Loaf of Sourdough Bread
We had a sourdough starter back in Boston. Randy was in charge of it: he fed it, nurtured it, tenderly turned it from gassy mush into beautiful, crusty bread. I was happy to sit by and enjoy the loaves of his labor.
After moving to Idaho, making our own bread fell by the wayside. For several years, it was just one thing too many. We baked a loaf of brioche or a baguette now and then, but didn't keep a starter on hand.
Until last month. The lure of fresh, warm, home baked bread finally won: I decided that managing the care and feeding of yet one more thing would be doable, if the result was sourdough.
My primary concern was time. When Randy had been making bread, he'd follow complicated recipes from The Bread Bible: many steps, precise measurements, hours of time mixing, folding, kneading, waiting, all in the right order, all on a schedule. With three kids, I find recipes like that too stressful.
My mission became finding the simplest, but tastiest, way to make a good, easy sourdough loaf.
The simple care and keeping of my sourdough starter
First, let's talk feeding. I wanted maintaining my sourdough starter to be easy, too.
I keep my sourdough starter in a clear plastic deli container (the size of a large yogurt or cottage cheese container) in the door of my fridge. I feed it every couple of days, at which point it has either doubled, or we're running out of bread. I keep approximately 225 grams of starter. When I make bread, I take about 150 grams and leave about 75 grams. Then, after feeding (see below), it's back up to around 225 grams.
If the starter hasn't doubled but I want to make bread, I'll set it on the counter for a couple hours before feeding to let the yeast colony warm up and eat first.
The first step is discarding some starter. Since I don't usually feed it unless I'm about to bake bread, discarding starter is really just scooping some out to bake with before feeding the remainder. I set the starter on my kitchen scale and scoop out about two-thirds of it (150 grams)—that goes directly into my mixer bowl.
Then, I feed the starter approximately its weight in flour and water. If there are 75 grams of starter, I add about 75 grams of flour and 75 grams of water. I feed it wheat flour and distilled water. I don't know whether using distilled water actually matters; we managed to kill a starter once with tap water in Boston, though, so I'm playing it safe.
I keep a rubber band on the outside of the container. After I feed the starter, I move the rubber band around the container up to mark the top of the starter, so that it is very easy to see when it has doubled in size.
If I want to make two loaves of bread, I take the starter out of the fridge early in the day and feed it extra without discarding any first. Once it has doubled again, and is nice and bubbly, I'll take out twice my usual amount of starter for the bread, leaving the same amount as usual in the container. I feed what's left in the container as usual before putting it back in the fridge.
Baking the best loaf of bread: Recipe
Many people are fastidious about measurements, timing, and methodology. Perhaps that gets them a consistently amazing loaf of bread. I certainly could do one of those "flip and squish every half hour for five hours" methods, but I don't—being that precise with timing doesn't fit with my current schedule or lifestyle.
Right now, I'm using this recipe. It makes one loaf, and can easily be multiplied for more loaves.
Ingredients- 150 g sourdough starter
- 250 g water
- 25 g oil
- 500 g flour
- 10 g salt
- In the evening, put all ingredients in the mixer bowl. Using a kitchen scale helps. Measurements don't have to be exact.
- Mix with the mixer's dough hook for 1-2min until mostly combined. Let dough sit ~30min for the autolyse process, which helps the gluten develop and gives a better crumb. Time doesn't have to be exact. You can also skip this step if you don't have time for it; it'll make the dough less airy but it'll still taste great.
- Mix for 10-15min, until the dough is stretchy. Cover loosely with plastic and ignore until morning.
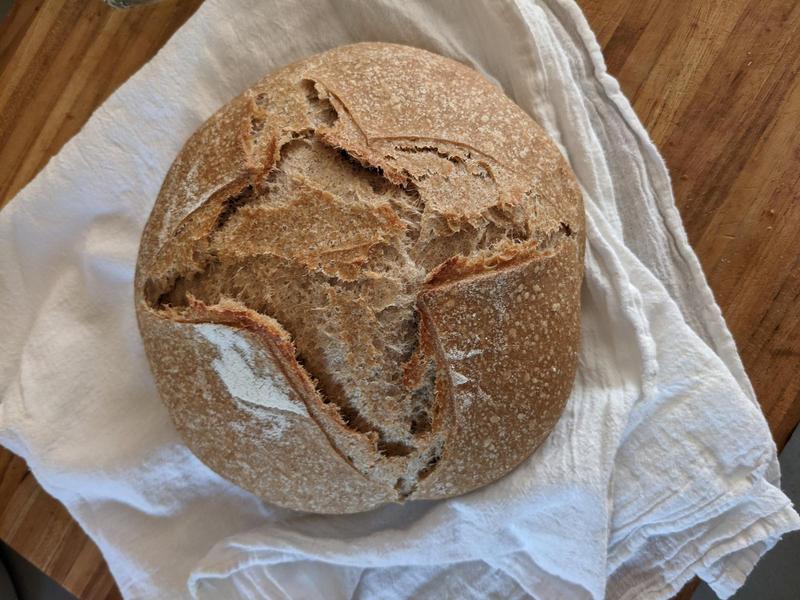
- Shape dough into a nice, round loaf. Let rise in a bowl, covered, until approximately doubled: anywhere from half an hour to a couple hours depending on the temperature. I line the bowl with a flour sack towel to prevent the dough from sticking.
- Preheat oven 425F with dutch oven. I like using a dutch oven, since it helps keep the bread moist. I've also tried baking on a pizza stone (which used to be our go to), but then it's recommended that you put some water in the oven to keep it steamy, and I don't like that extra step.
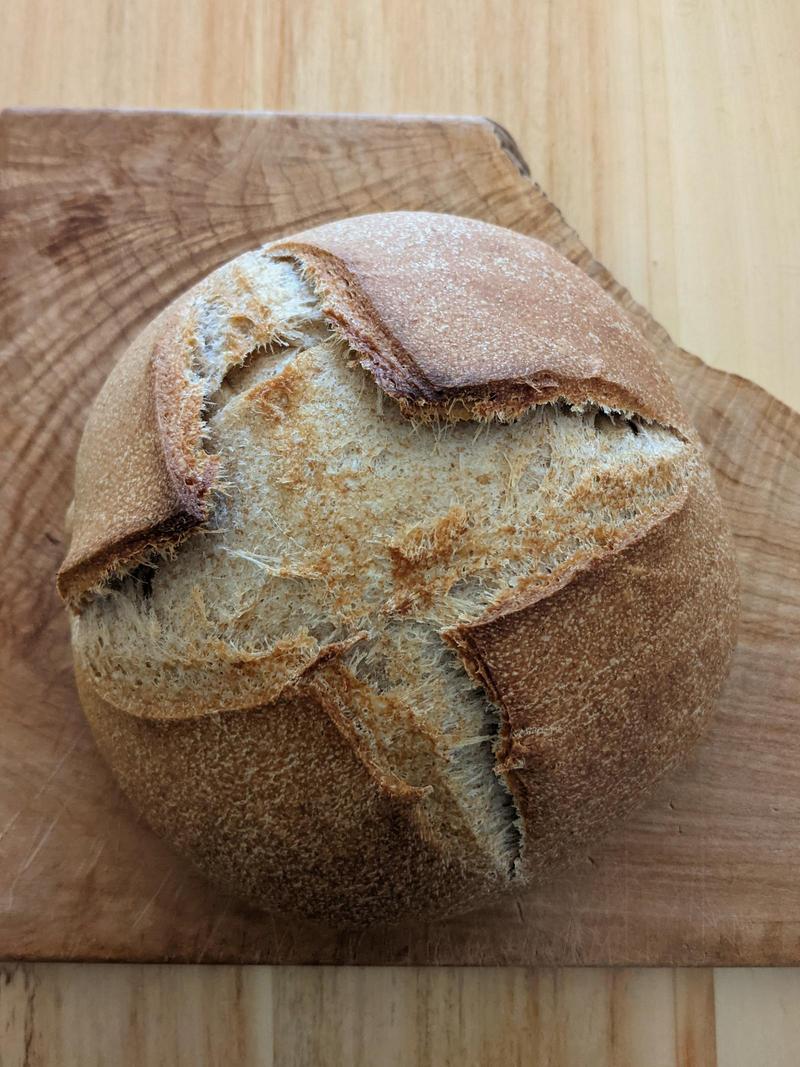
- Turn the bread out onto a piece of parchment paper and set in the dutch oven. Slash the top; I usually do a simple X.
- Bake for ~30min, then take the lid off the dutch oven and let the top crisp up (5-10min). The bread is done when it's 190F inside.
I'm still experimenting with the exact details of the recipe. As I said in my earlier post about cooking, I like the flexible, creative aspects of cooking. I've tried changing how long I knead the bread, whether I let the dough go through the autolyse process, periodically resting the dough during kneading, and even proportions of some ingredients. That's part of the fun—learning the science of how a good loaf comes together.
Suffice to say, I've been happy with the results so far.

Book review: Good Prose: The Art of Nonfiction by Tracy Kidder and Richard Todd