How We Managed Our First Honey Harvest
(Read about why we got bees and what we've learned so far)
How much honey did we harvest?
We've often heard that you're not supposed to harvest any honey from a hive in its first year. Why not? Many hives take some time to get established. It takes a lot of work for bees to draw the comb where they raise brood and store honey, and as a result, many don't produce enough honey the first year for there to be excess for the beekeeper. But if your hives are doing well, you probably can take some, as long as you're careful to leave enough in the hive for the bees to survive the winter.
In our area, the rule of thumb is to leave two deep supers for the bees. Many beekeepers have two deep boxes at the base of the hive, which they never touch, with honey supers above for harvesting. We are using only medium supers in our hives, not deeps (read why); three medium supers is approximately equivalent to two deeps. It might be a little less, since we're using 8-frame supers, not 10-frame supers.
Our plan is to leave the bees three supers—maybe four?—for the winter. The balance we have to strike is between enough food (four supers?), and minimizing the space the bees have to heat (three supers?).
Even if we decide to leave four, two of our hives already have extra honey.
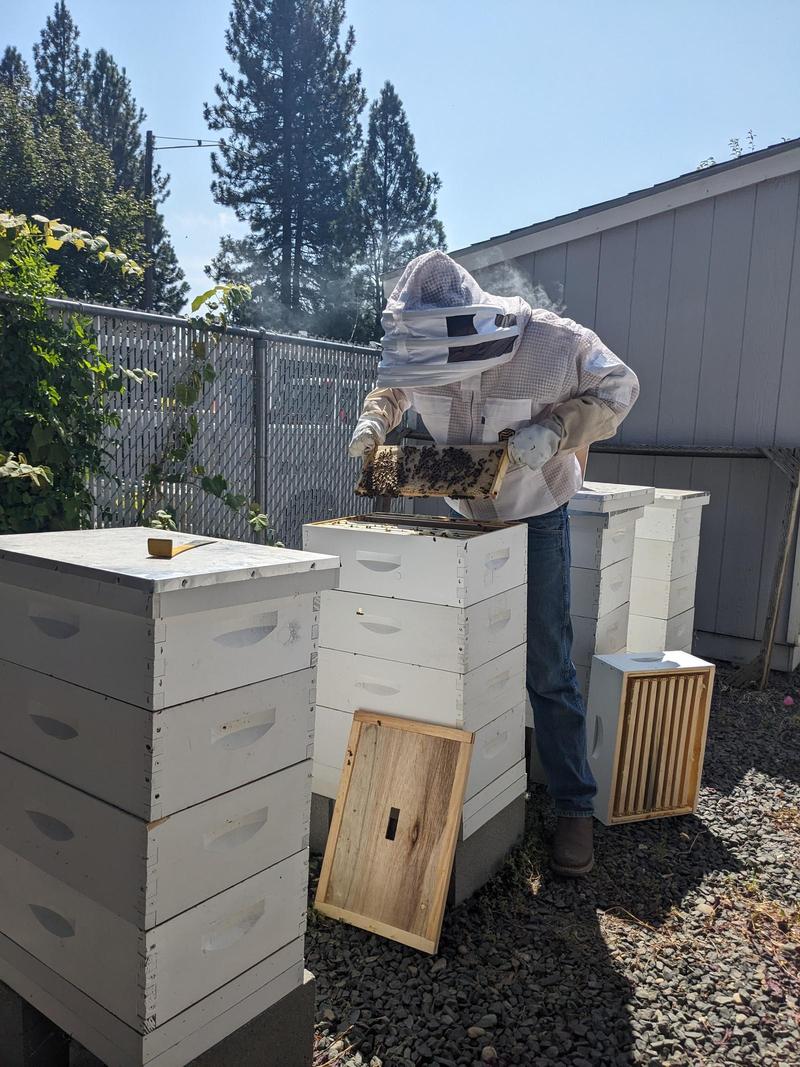
Earlier this summer, Randy added a fifth super to two of the hives. That super, in both hives, is already being filled with comb. There's still a month or two of good weather left. We decided to take some frames from the super below it, which was very full (and heavy!)
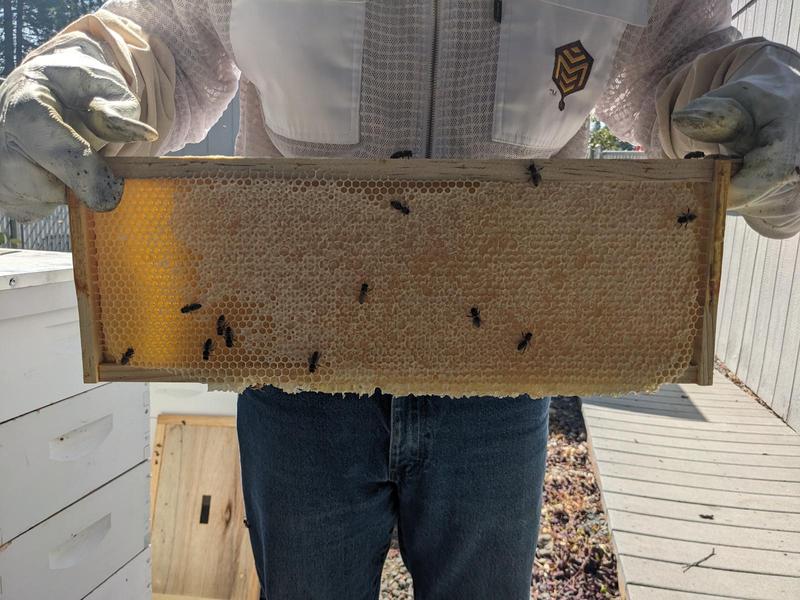
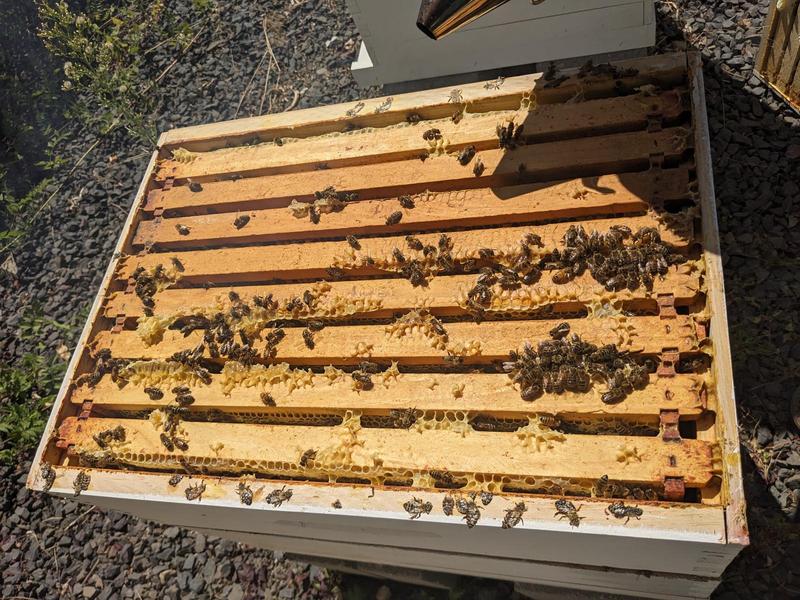
In one hive, the fourth super had seven (of eight) frames 100% combed, full of honey, and capped off. The eighth frame was maybe 60% capped, so we left it. In the other hive, the fourth super had three frames 100% capped; the other five were around full of honey but only around 50% capped, so we left them.
The other two hives weren't nearly so productive. One had filled the third super and was building comb in the fourth; in the other, the bees were still capping honey in the third super. So we didn't take any honey from them.
(Read: Seasonality and Natural Rhythms: Why Growing and Preserving Your Own Food Matters
(Read: One Year Later, Are Backyard Chickens Worth It?)How did we extract the honey?
This was our first time extracting honey, so here's what we did.
First, honey is sticky and everything gets sticky. We were proactive in containing the mess, so it wasn't as bad as I anticipated. E.g., we made a point of setting any utensils, tools, etc on cookie sheets or large lids to keep the stickiness contained on easily cleanable surfaces.
When taking the frames out of the hive, we first cleaned out a large plastic bin and set an empty super in it. Then, we took a frame to be extracted, shook some bees off, brushed the rest of the bees off with a bee brush, put the frame into the empty super in the bin, and put the lid on the bin while checking the next frames. That way, the bees would stay out of the way and all the stickiness was contained. Since we took 10 frames to harvest and our supers fit 8 frames, we set a second super in the bin, too; they fit stacked.
Once we had our frames, we took everything inside.
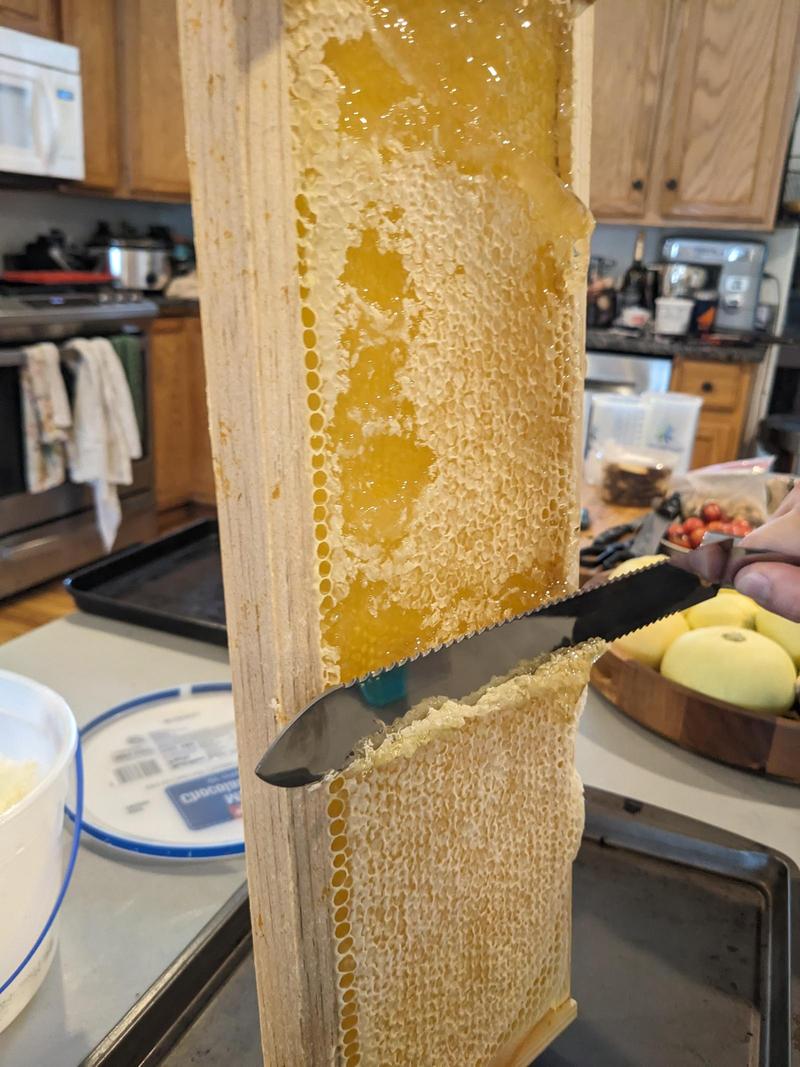
We used an uncapping knife and an uncapping scratcher to get the wax off the top of the honeycomb on the frames. It took some patience, though we did get faster with practice. I can see why someone might splurge on a heated knife that cuts smoothly through the wax.
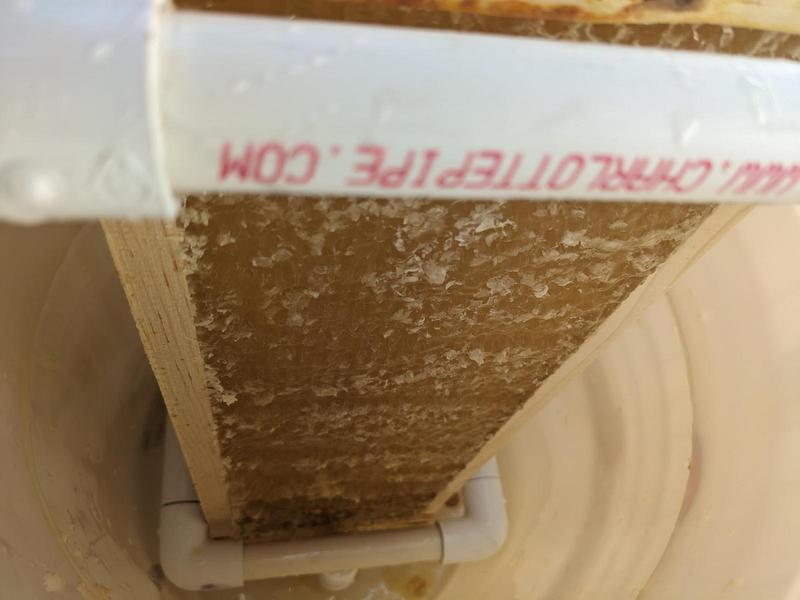
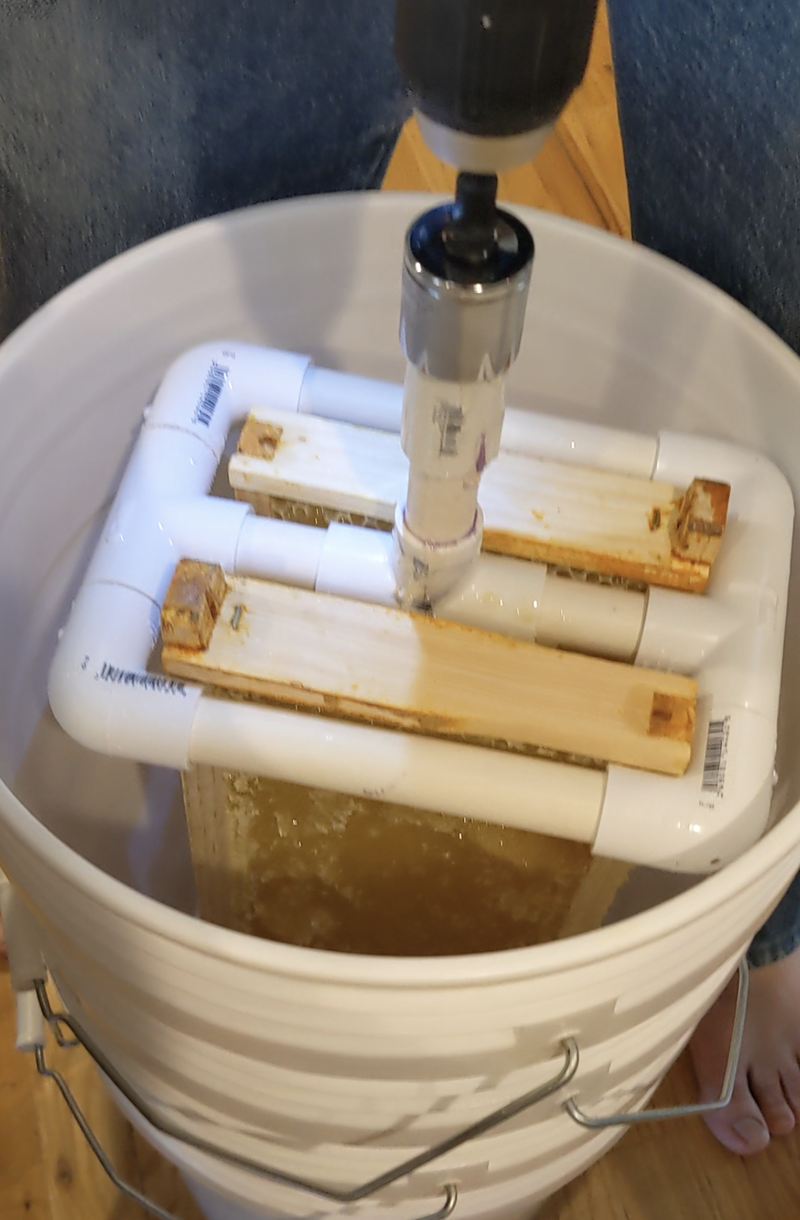
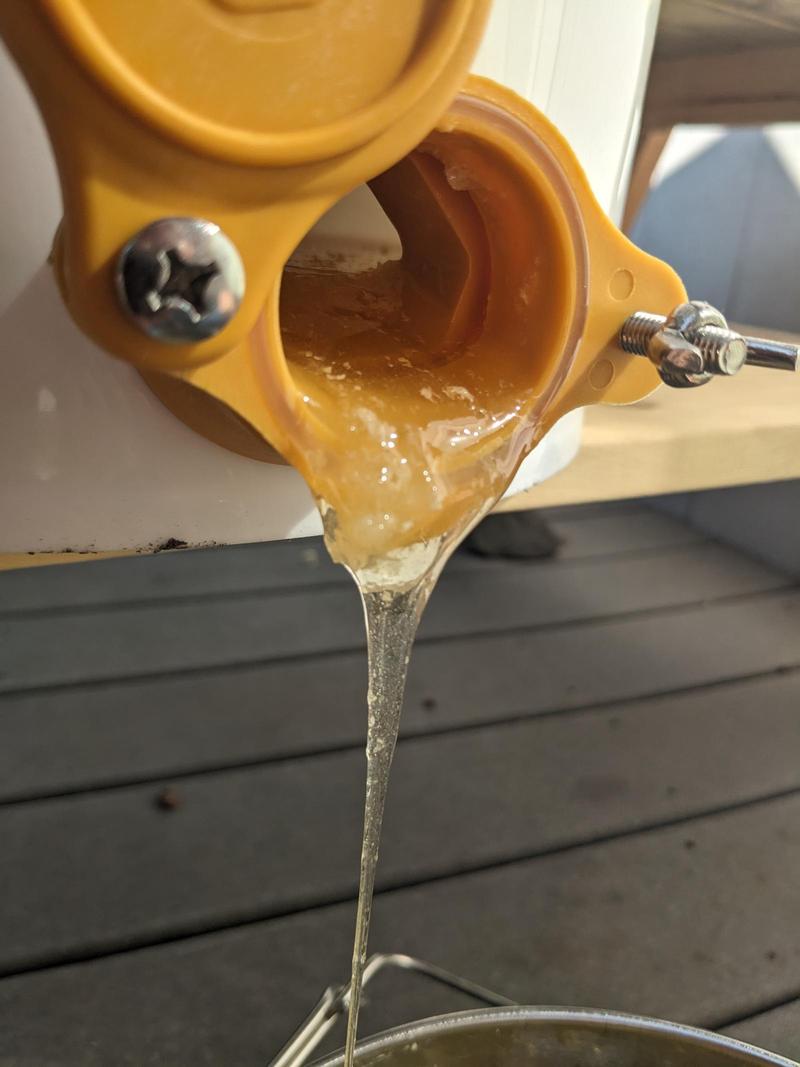
Then we loaded two frames of uncapped honeycomb into our honey extractor. Extractors are expensive; even a manual two-frame extractor can be over $200 and if you want one with a motor, over $500, maybe even over $1000. So, ours is a homemade extractor that Randy made, mostly following the plans he found here—made of PVC in a 5gal bucket, powered by an electric hand drill. (Modifications included: 1/2" PVC instead of 3/4"; how the drill attaches to spin; adding a pair of metal washers at the base of the spindle so the plastic won't melt.) A PVC spindle holds two frames in place; the drill spins the whole contraption around so the honey flings out against the sides of the bucket, kind of like a salad spinning drying lettuce. The honey drips down through holes at the base into another bucket, which has a honey gate that we can open to let the honey out.
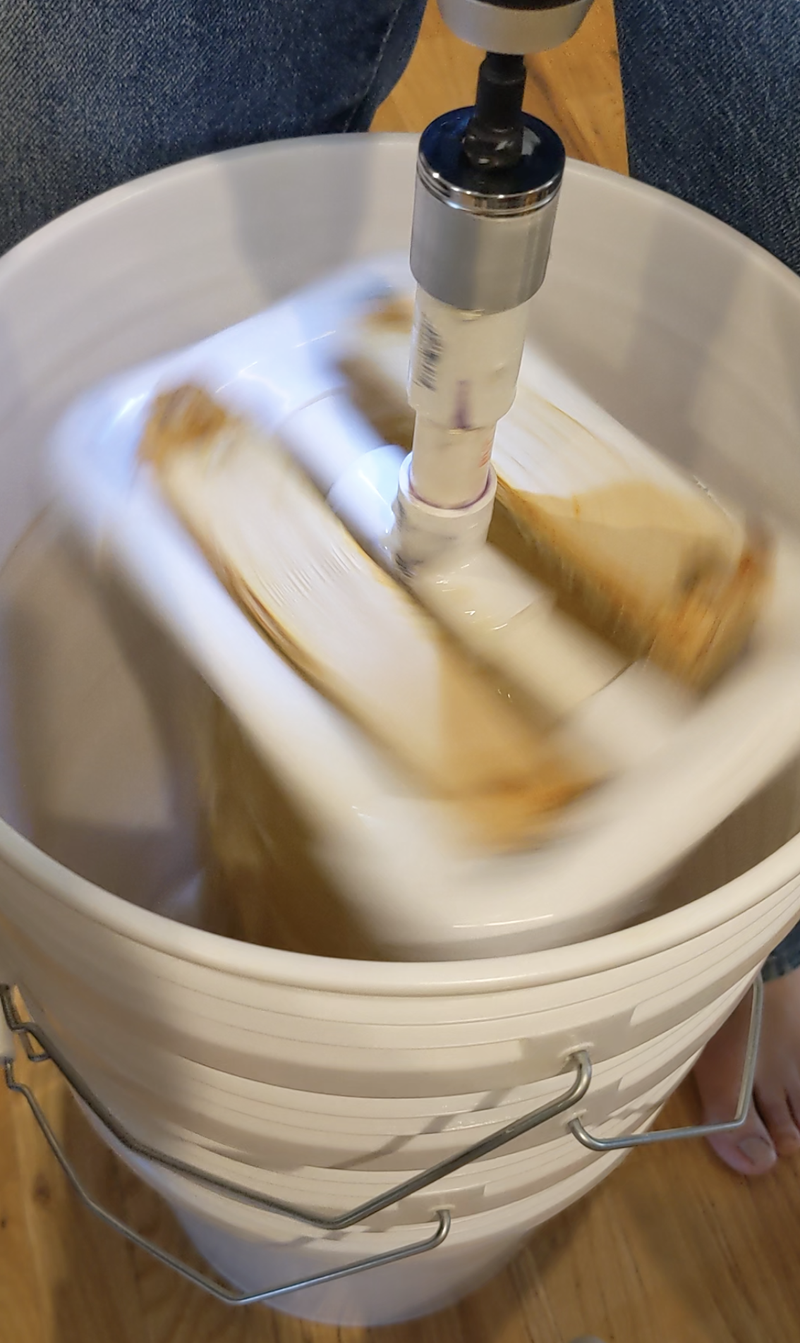
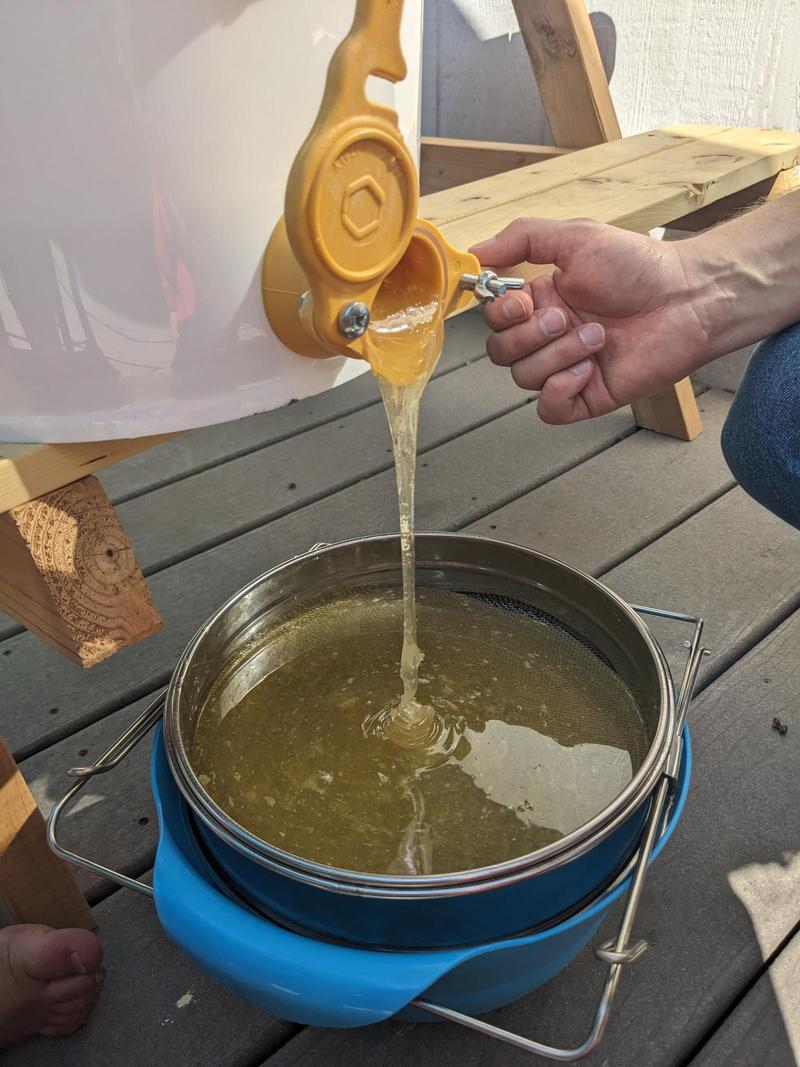
We tried the first frames inside, but it seemed like the honey wasn't flinging out well. I suggested we try outside; it was a nice warm 93 degree day. And that helped. The honey, when warmer, moved much easier. Sweaty work though it was, we did the rest of the extraction outside.
When the bottom of our extractor looked full of honey, we opened the honey gate and strained the honey through a double sieve into a large bowl.
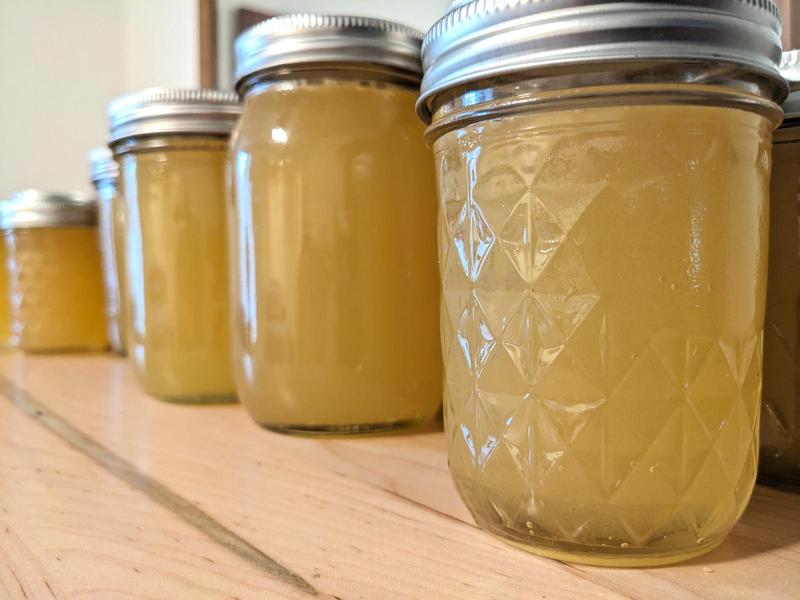
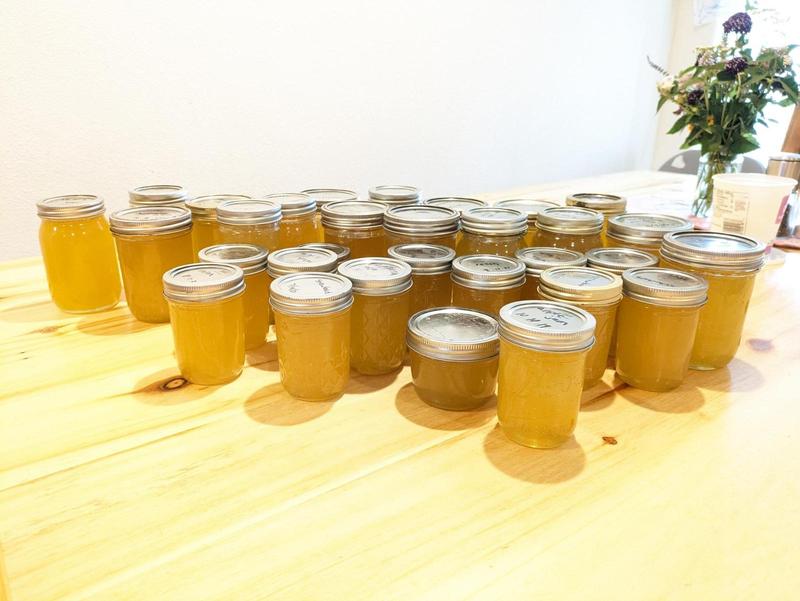
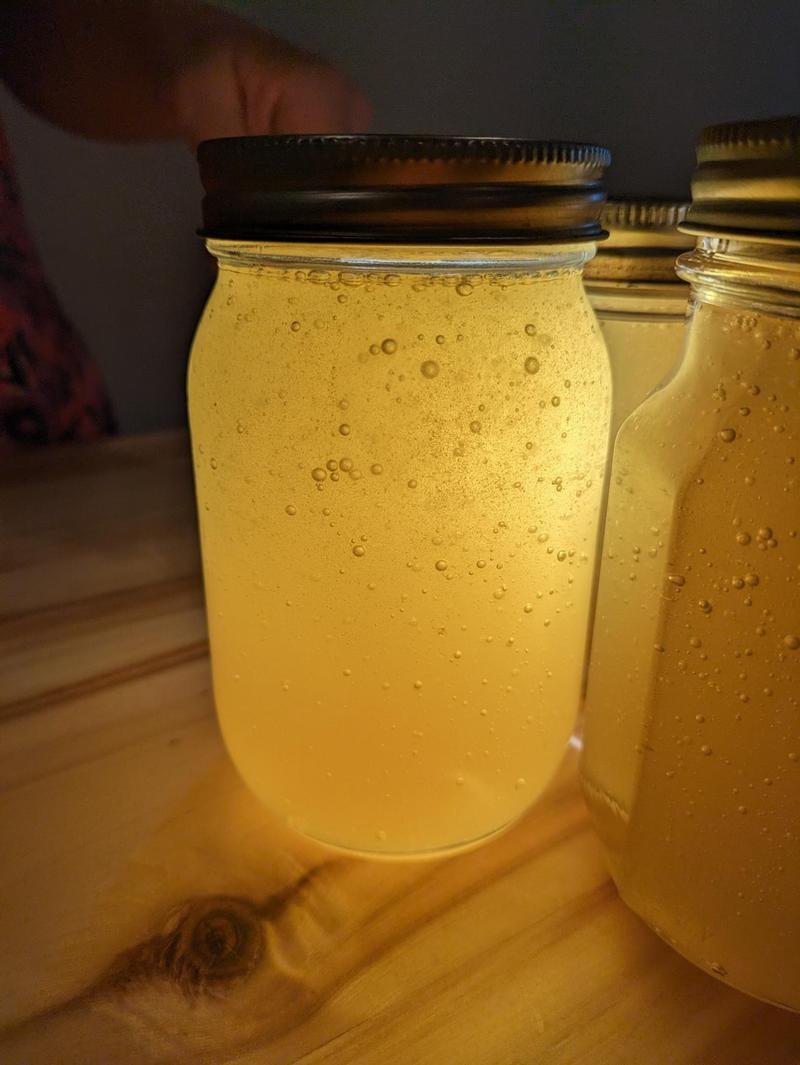
After the strained honey was in bowls, we laddled it into jars. We got about 3 gallons of honey from the 10 frames—approximately 36lbs!
We made biscuits that evening and ate them covered in honey, of course.
What will we do differently next time?
For next time, we need to make a few more modifications. We need to add a brace or crossbar to the top part of the spindle to hold it centered better while spinning. Randy managed it well enough, but it was tiring after 10 frames.
We also need to add a honey gate to another 5 gallon bucket so that we can strain the honey into it, instead of into bowls. We didn't realize how much honey we would get! Then it'll be easier to transfer the strained honey into jars.

Self-Direction in Graduate Education and Improving the Academic System