Tutorial: How to Make an Easy Patchwork Peasant Skirt
As part of my quest to find new, interesting ways to use the many fabric scraps I've acquired, I pieced together this patchwork skirt!
Here's how I did it:
Materials
- Cotton fabric quilting scraps
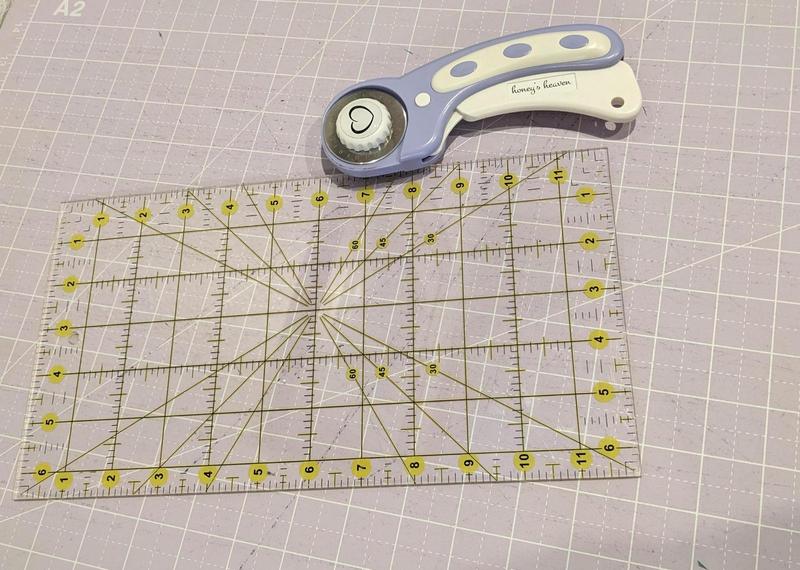
- Scissors and a ruler or rotary cutter with mat
- Sewing machine, thread, etc
Instructions
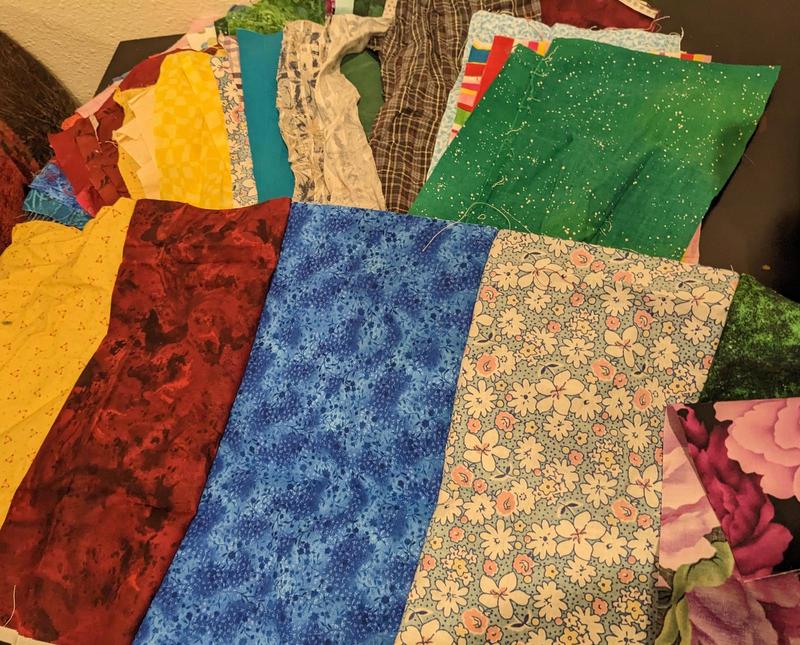
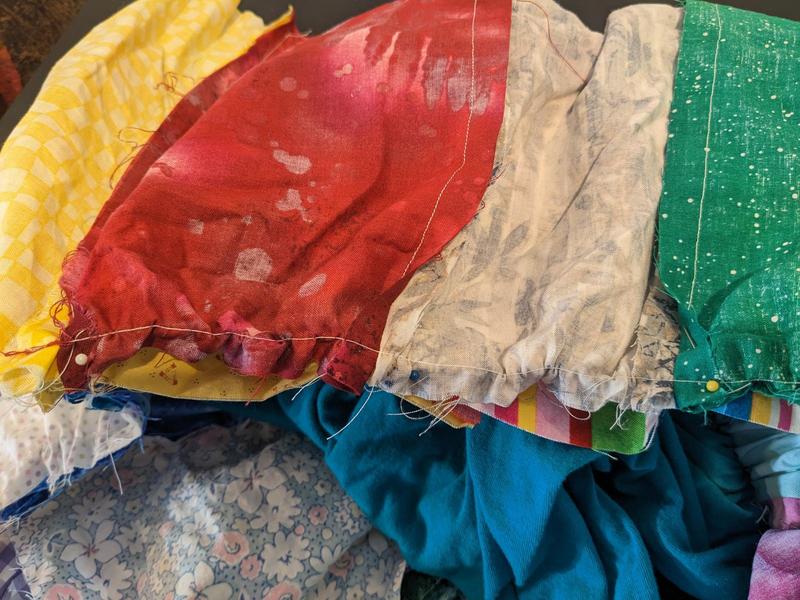
Step One: Cut rectangles.
Cut 39 rectangles of fabric. I used my rotary cutter and a plastic rectangle to measure out identical rectangles; they measured 6.5" by 12".
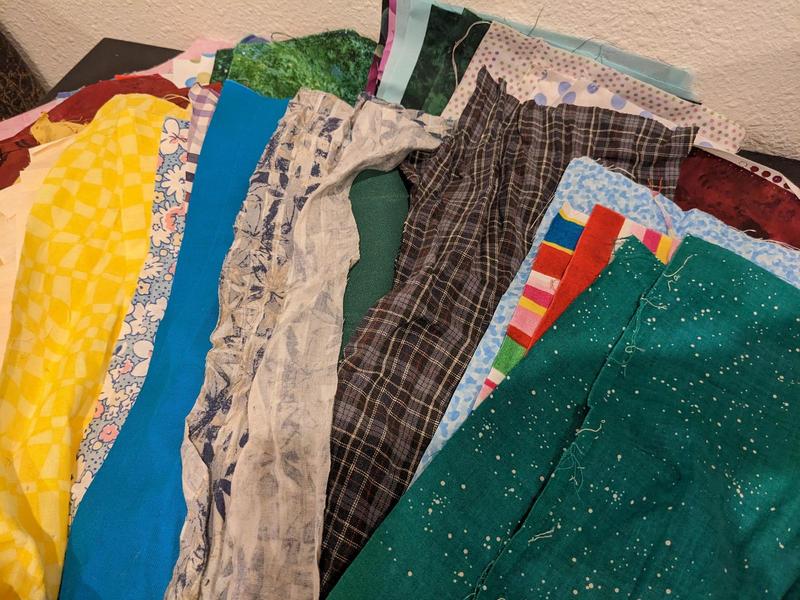
I actually cut more than the 39 rectangles that I ultimately used for the skirt, because I wasn't sure up front how full of a skirt I wanted to make, or exactly which colored rectangles I wanted to use. I pieced the colors together as I went.
(Read: How I Made a Linen Wrap Skirt With Rainbow Embroidered Flowers)
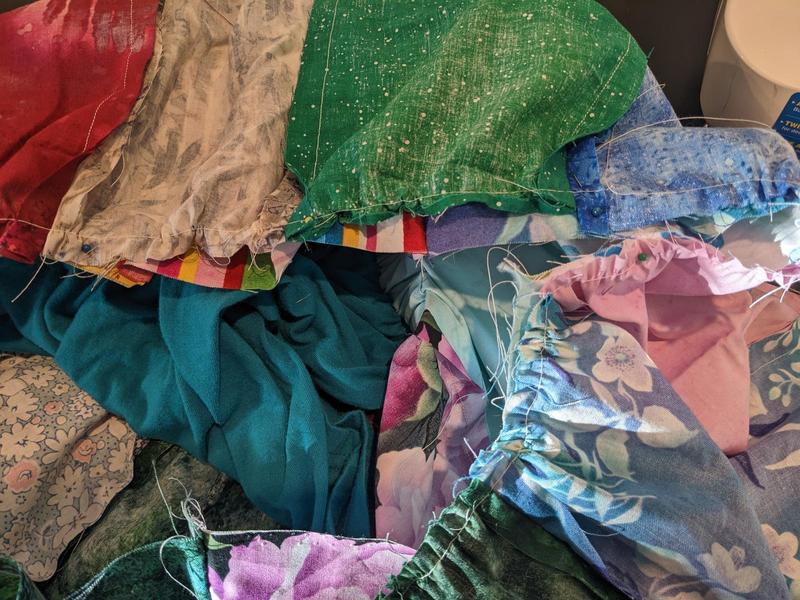
Step Two: Assemble tiers.
Sew rectangles together into long strips. I made a three-tiered skirt and sewed rectangles along the long sides. The top tier, nearest my waist, was 10 rectangles. The second tier was 13 rectangles. The third was 16 rectangles.
You can increase the number of rectangles to make a fuller skirt. Or decrease if you want a narrower skirt.

Once you are happy with the size of your tiers, sew each tier closed into a circle (connecting the rectangle at one end of your rectangle strip to the rectangle of the other end).
(Read: Tutorial: How To Make a Braided Rag Rug from Old Sheets or T-Shirts)
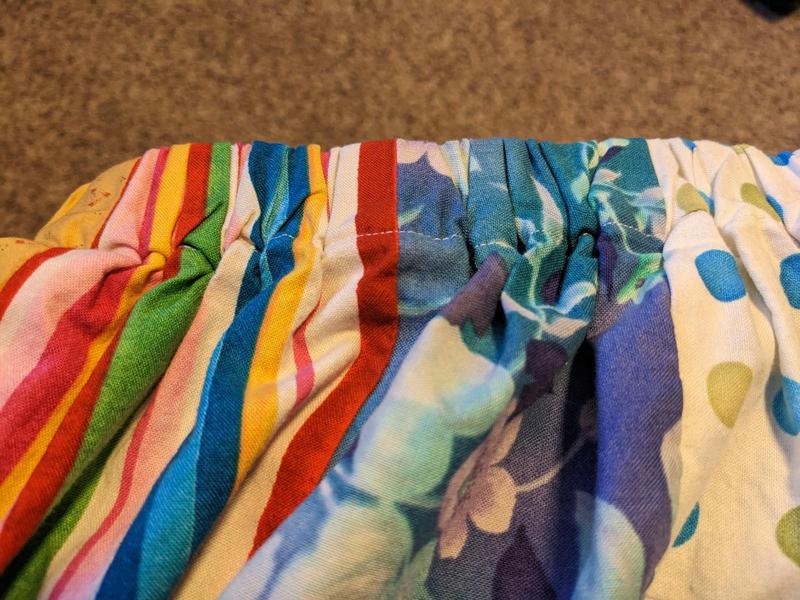
Step Three: Attach tiers.
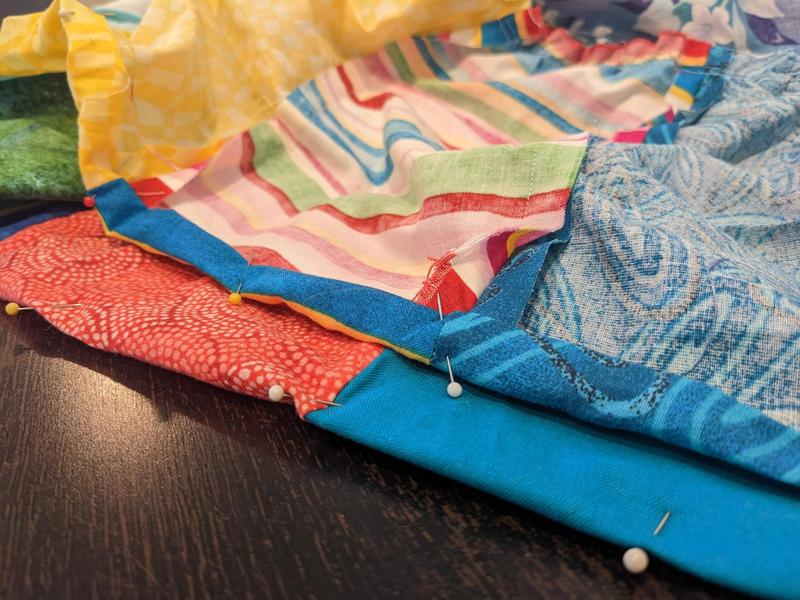
Sew along the top edge of the second tier with a wide straight stitch. Leave long tails. Pull the thread to gather. (There are plenty of tutorials online if you need more detail on gathering.) Line up the gathered top edge of the second tier with the bottom edge of the top tier, pin right sides together, and sew. Then do the same for the third tier: gather the top edge, pin to the bottom of the second tier, sew.
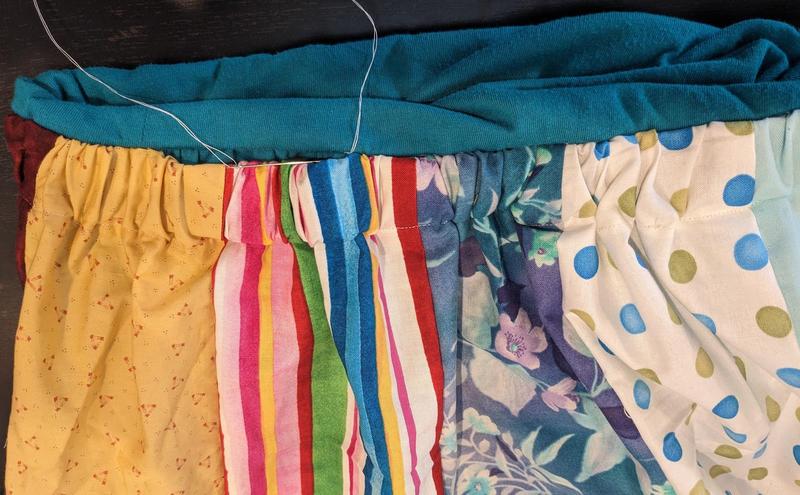
Step Four: Add the waistband.
You have options here! I started with a simple elastic waistband. I folded the top edge of the top tier in, sewed it most of the way around, threaded 1in elastic through, and sewed up the opening.
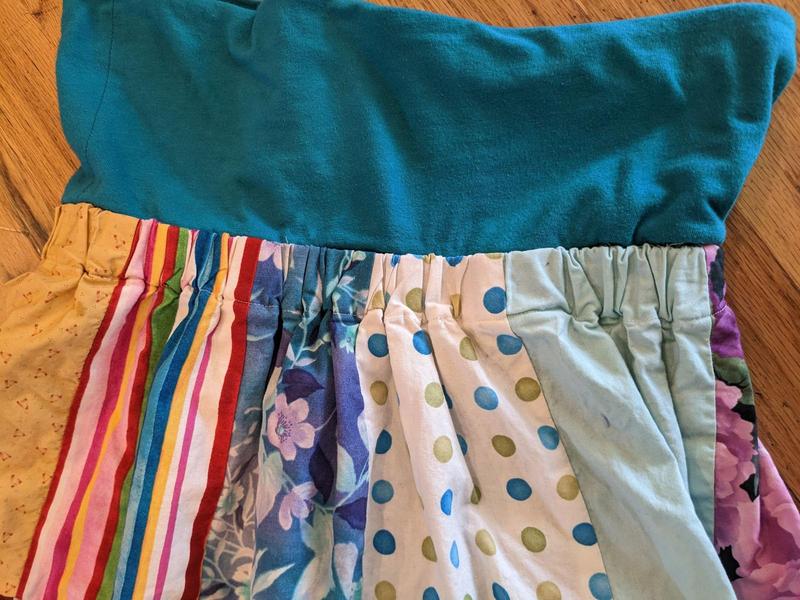
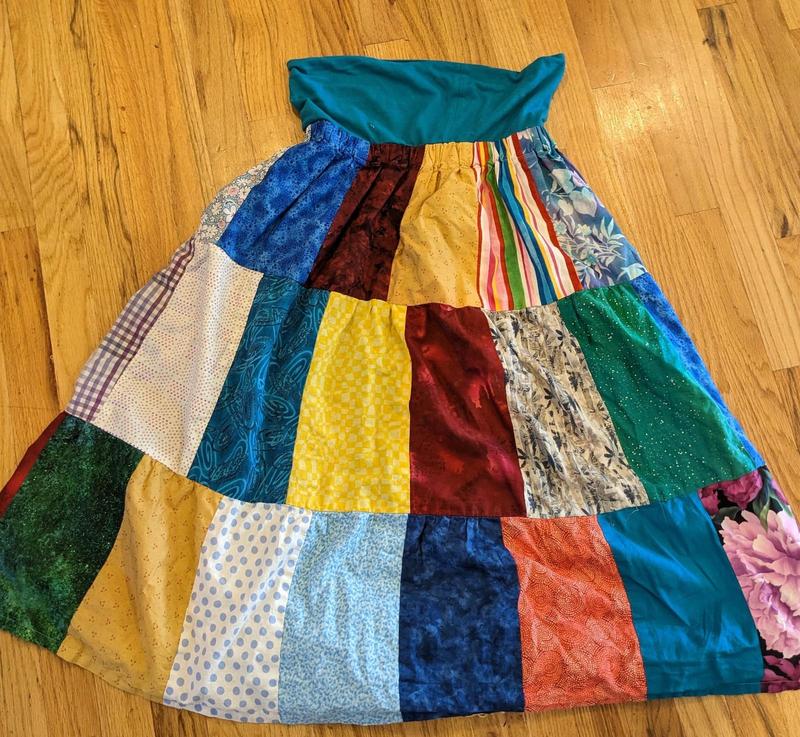
You can make a separate waistband with a long strip of fabric, and sew that to the skirt, if you don't want to fold over your top tier edge. I've done this on other skirts, here's a photo:
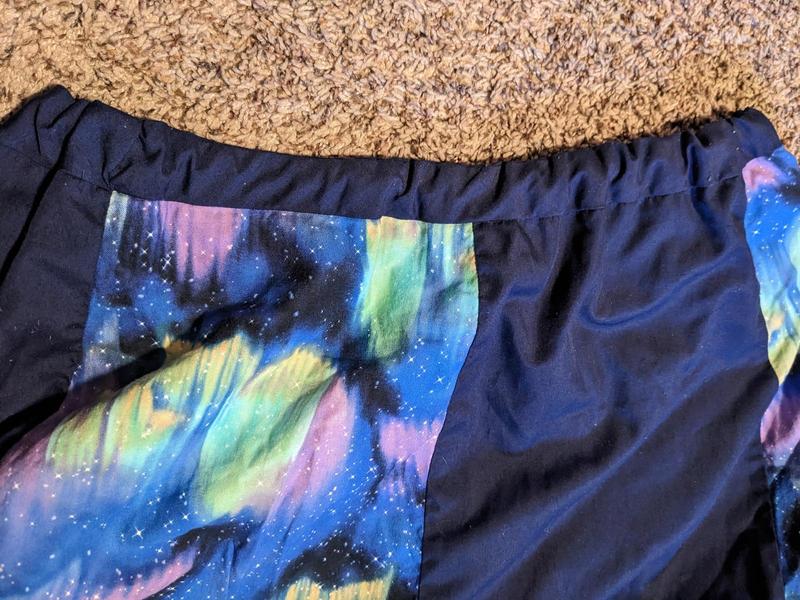
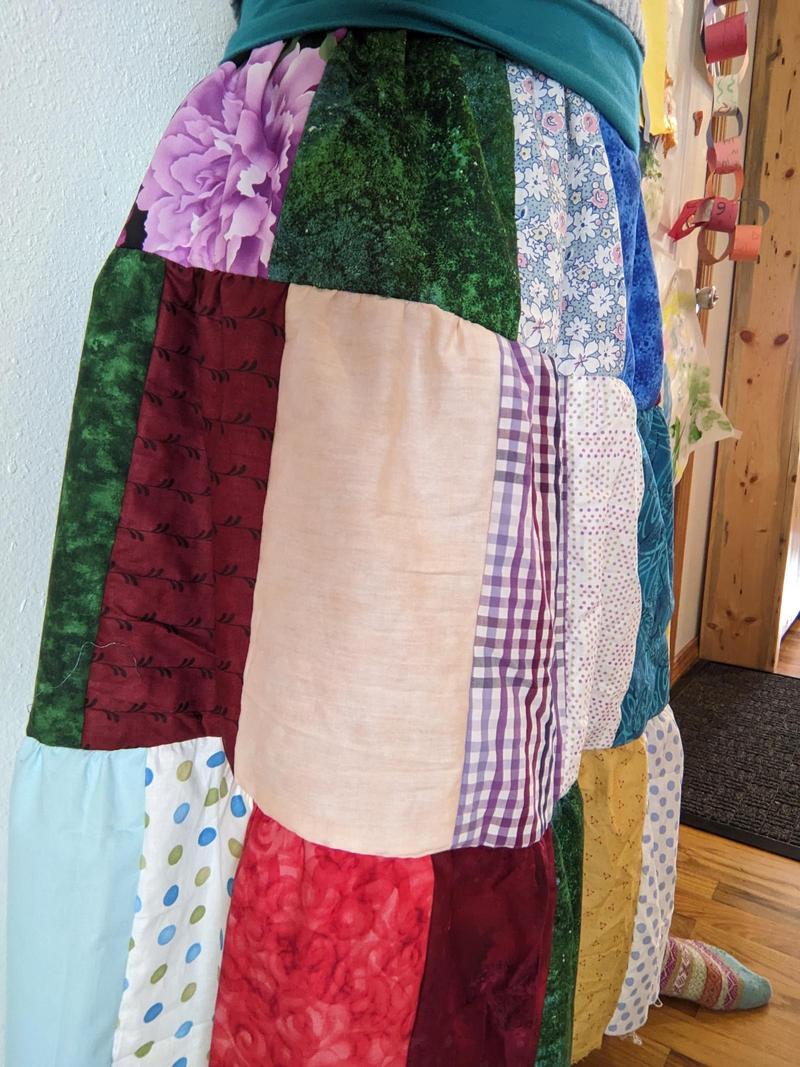
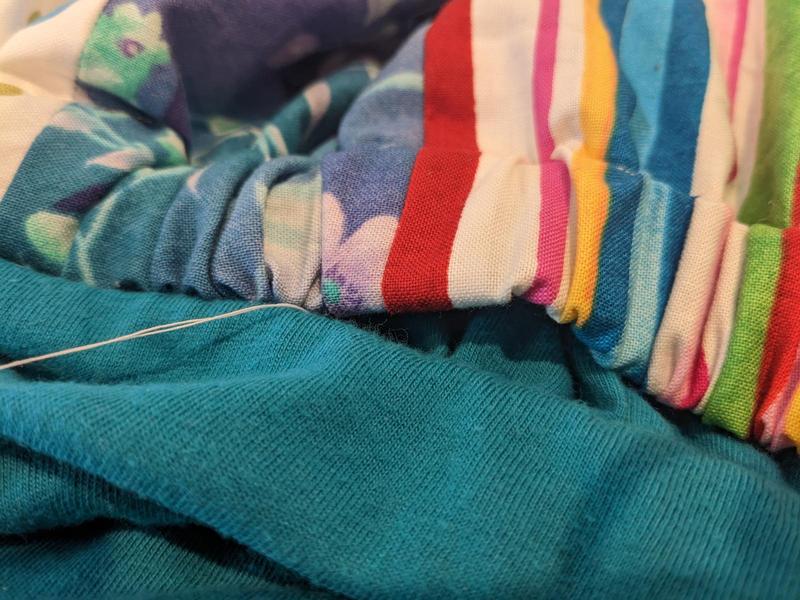
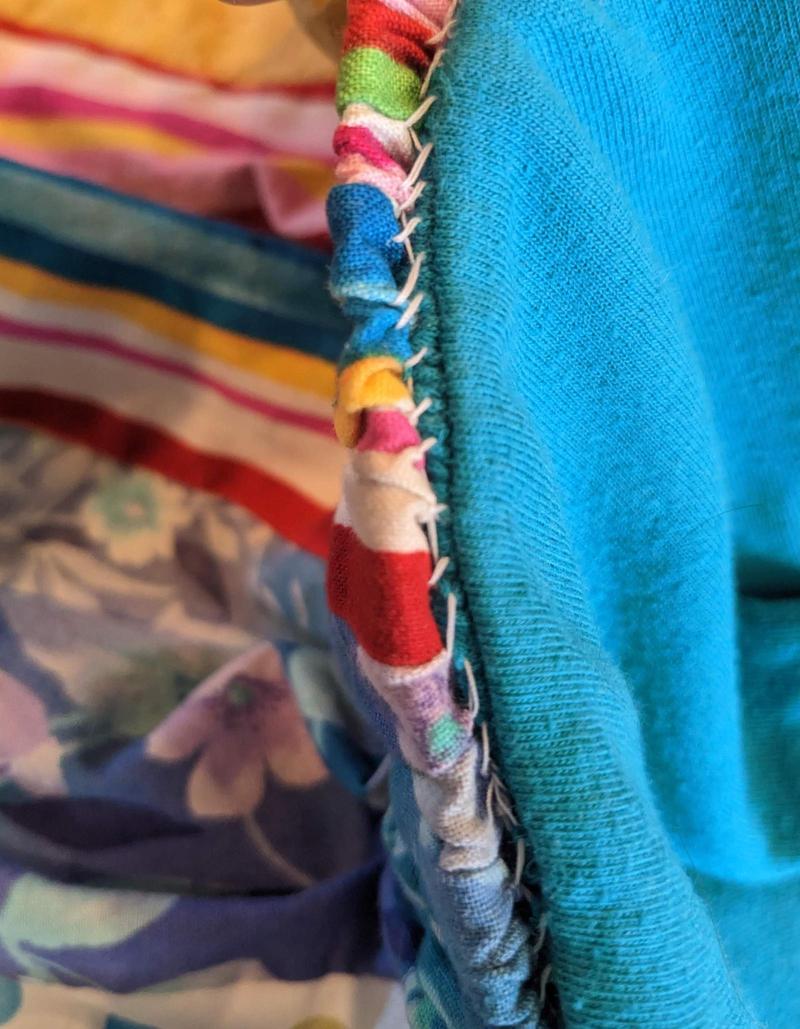
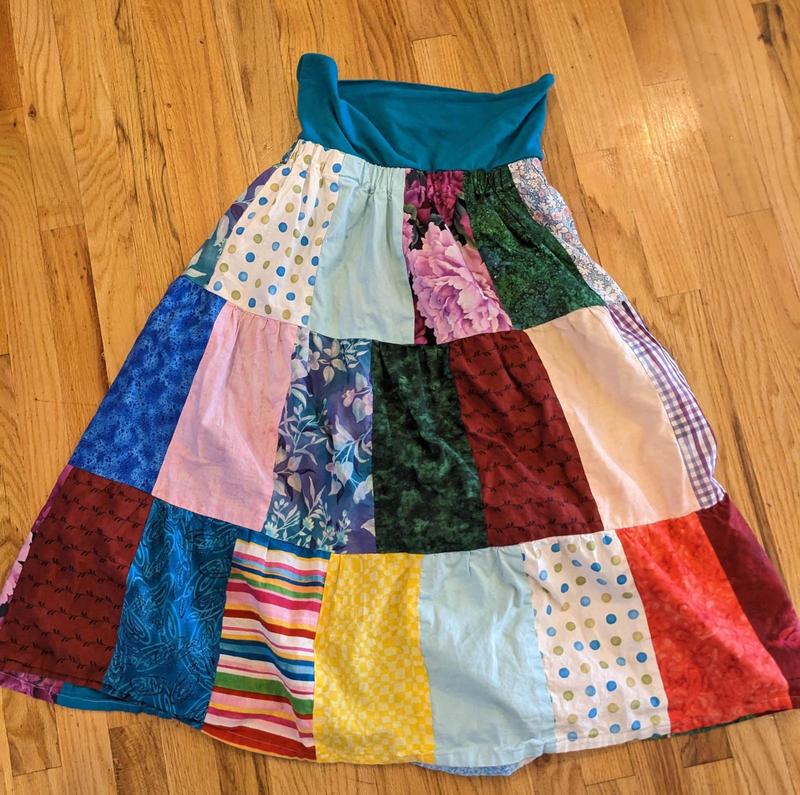
Then, I wanted a lining for my skirt. I took a stretchy knit knee-length skirt with a fold-over waistband (that I had found at the thrift store). I hand-sewed the top of the now-elasticy waistband of my patchwork skirt to the bottom of the waistband of the knit skirt, so that the knit skirt hung inside the patchwork skirt as a lining, and its waistband could fold over the elastic waistband of the patchwork skirt.
The picture makes this clearer:
Step Five: Hem.
Last, hem the skirt. I tried it on to make sure I liked the length, which I did, so I made a ½" double fold hem.

And that's it. So far, I've worn the skirt with solid colored sweaters, since the weather has been cold, and it looks great!

How Autonomy Will Help You Flourish