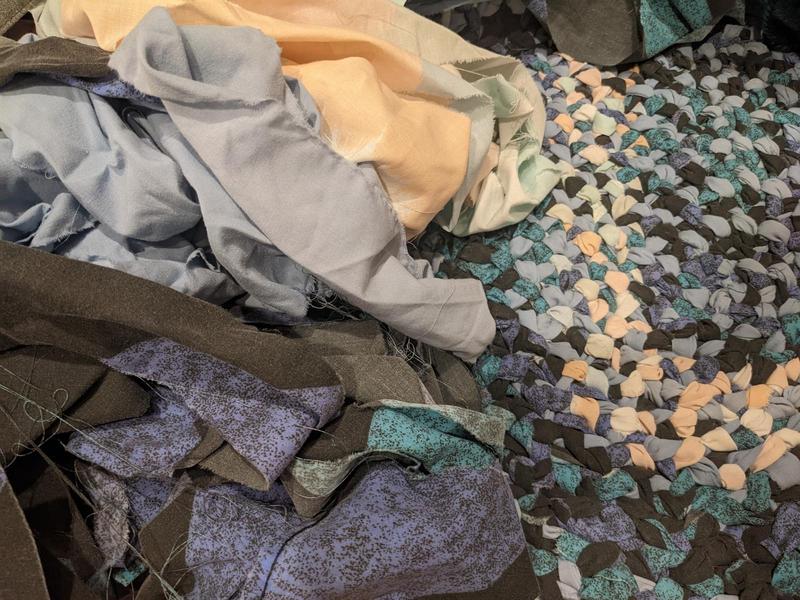
Tutorial: How to Make a Braided Rag Rug From Old Sheets or T-Shirts
How do you make your own colorful, braided rag rug—whether from t-shirts, old sheets, or other scrap fabric? Here's a simple step-by-step tutorial.
(Read: Making Rag Rugs From T-Shirts and Old Sheets)
Step 1: Collect materials
You can use t-shirts or old sheets. I'll explain the differences in materials and technique as we go—but it's much the same.
(Have old socks instead? Make a sock rug!)
Shirts: For a small rug, you'll need around 10 t-shirts. Part of what determines how many shirts you'll need is how big your strips are, and how tightly you braid—see Step 2. Another part: How big the t-shirts are. Small shirts have far less fabric in them than an XXL, so you'll need more of them!
Sheets: Two full or queen sheets make a rug approximately 2x3 feet; if you use 3-4 sheets, you'll get a 4-foot rug. Again, the size of your strips and tightness of the braid will affect the final result.
Other materials:
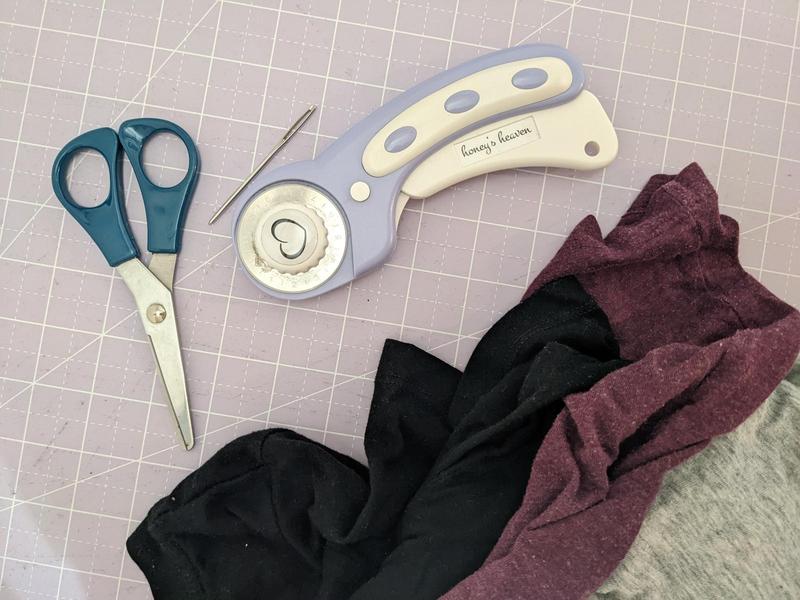
- Scissors or rotary cutter
- Tapestry needle
- String (depending on your braiding method—see Step 4)(I used warp string, but you can probably get away with other string or strong yarn.)
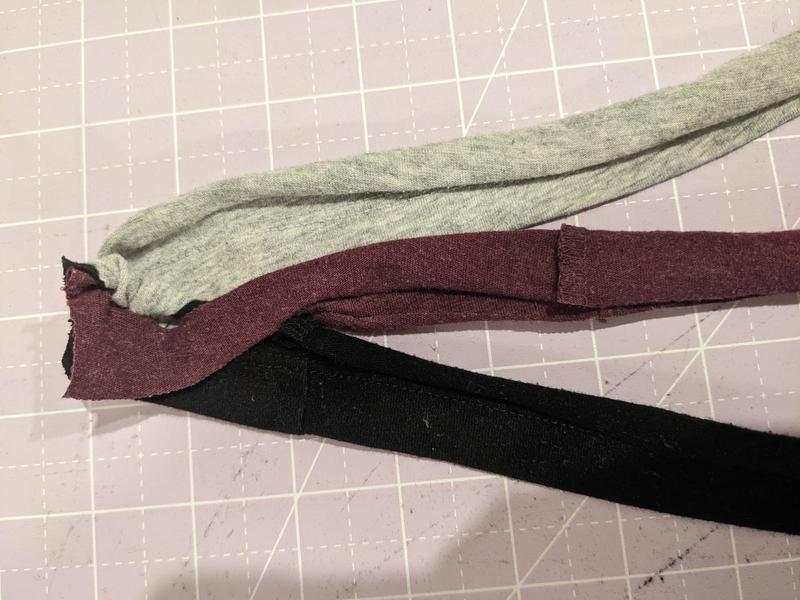
Step 2: Make fabric strips
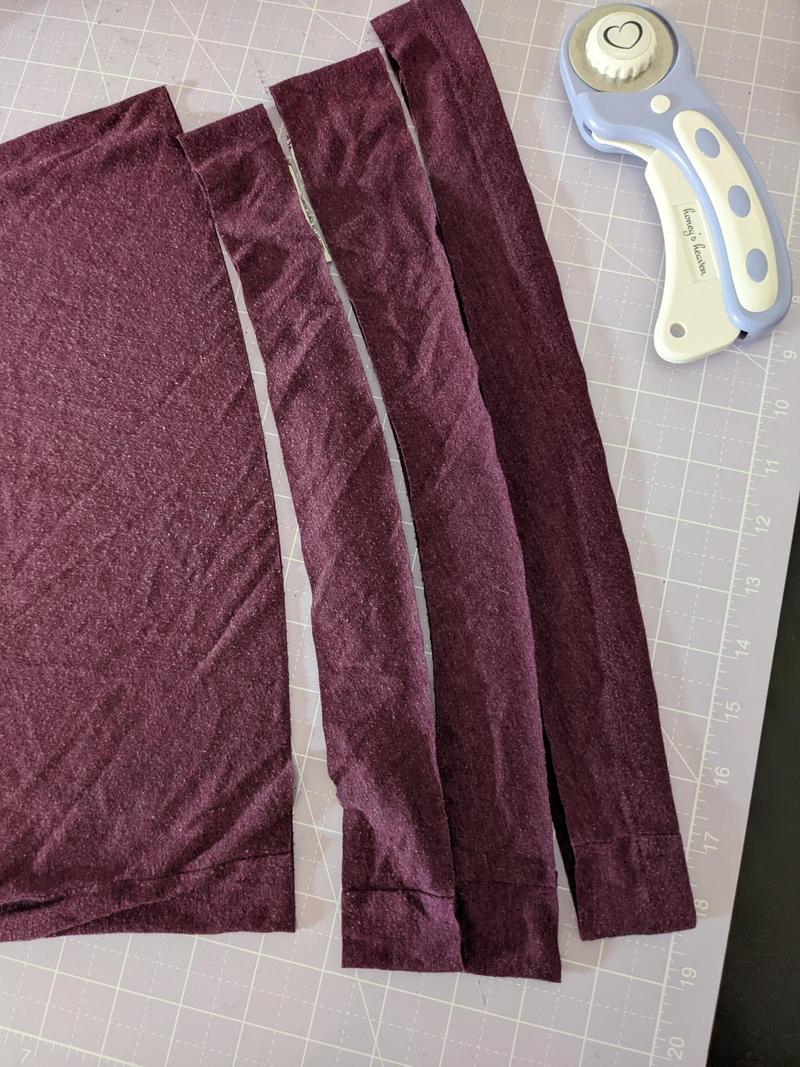
Cut or tear fabric into strips, which you will use to braid.
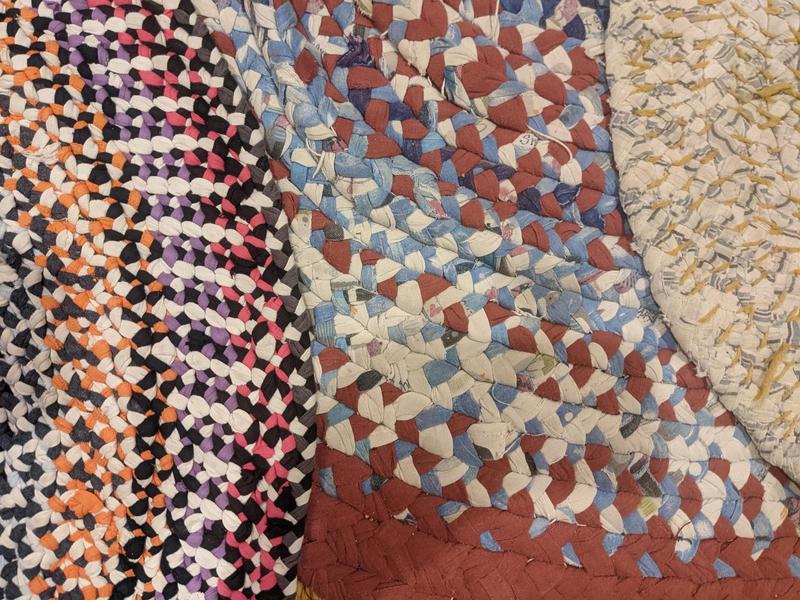
With t-shirts, I like to use a rotary cutter; it's definitely faster than scissors! For one rug with a tighter weave, I made strips about an inch wide; for the other, the strips were 2-3 inches wide. It doesn't matter if your strips are all exactly the same width; there's wiggle room. Don't stress it.
With sheets, I made cuts with scissors along one edge, then tore the strips off (or, I held the sheet while one of my kids held onto the tab and ran it across the room, thus tearing a strip). I made the strips 2-3 inches wide. You can do wider if you want a thicker braid, but it may get unwieldy as you work.
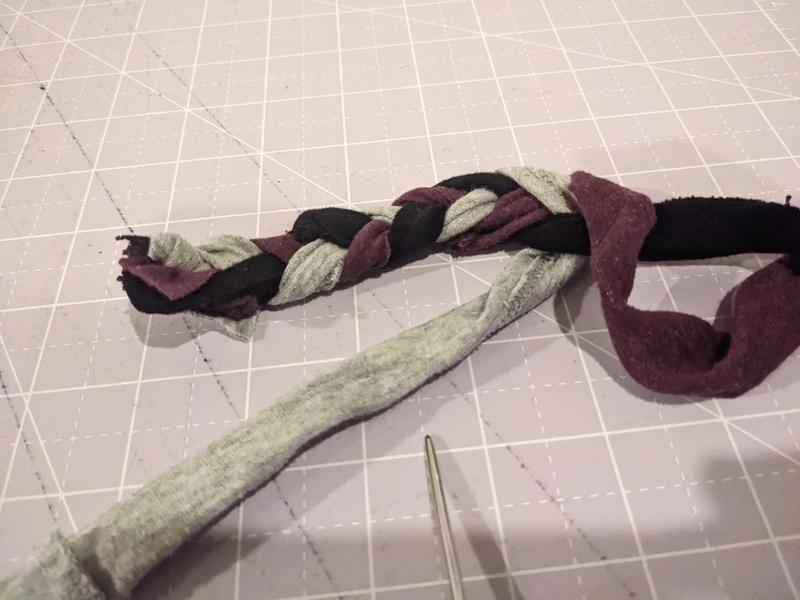
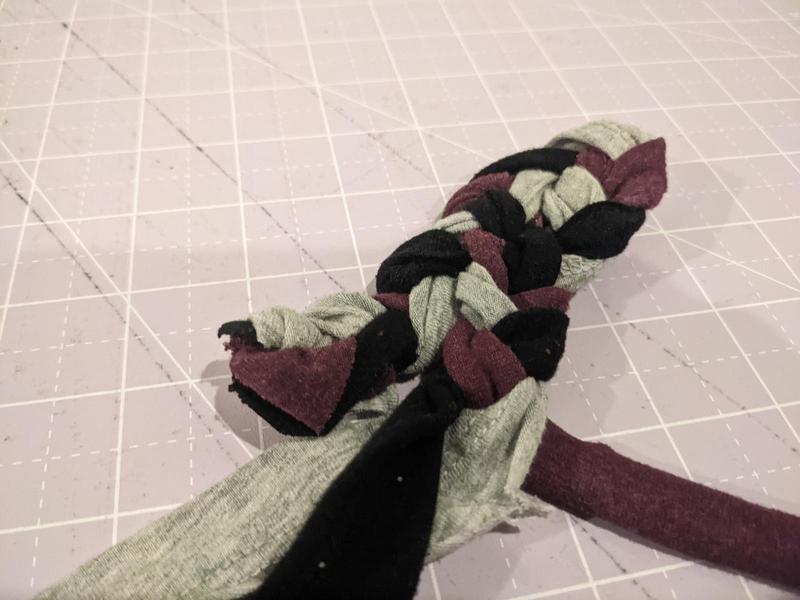
Step 3: Start the braid
Take three strips of fabric. Sew or knot the three ends together, or loop them together as you might when adding strips—see below. You can use a sewing machine, or hand sew—it doesn't matter so long as the start of your braid stays together.
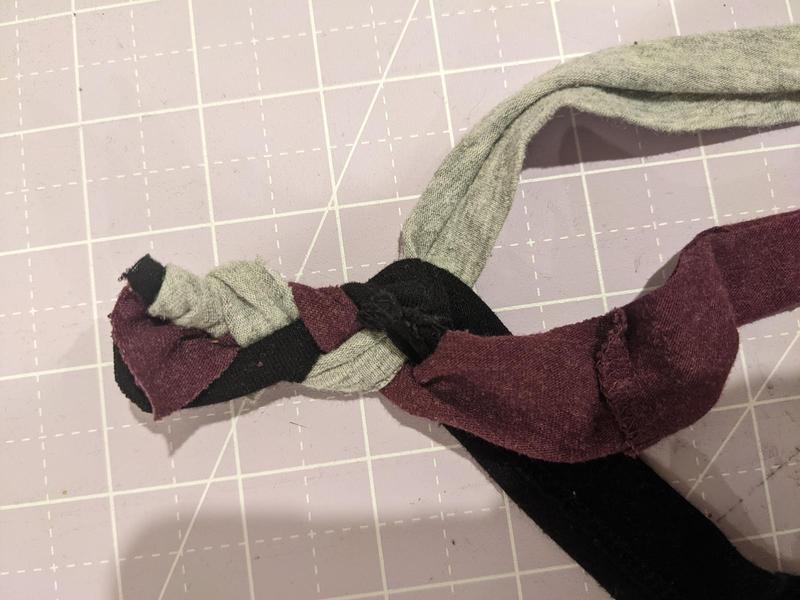
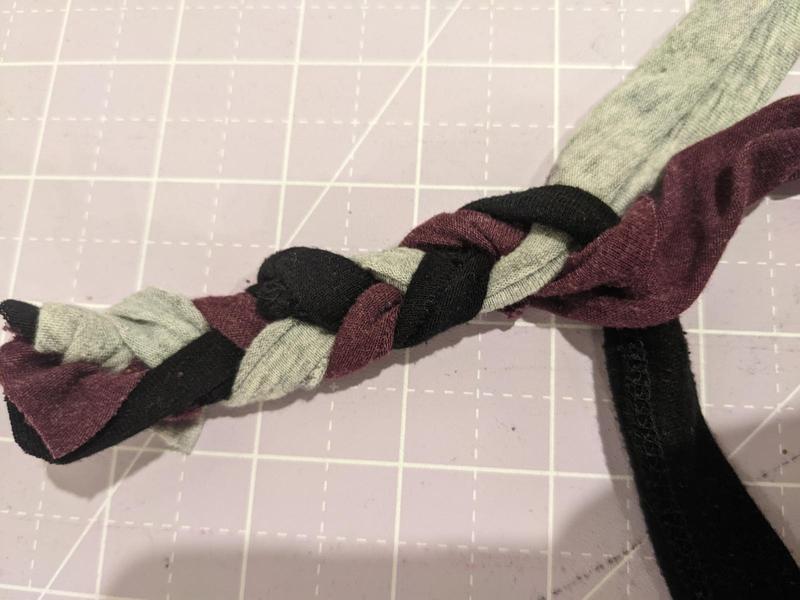
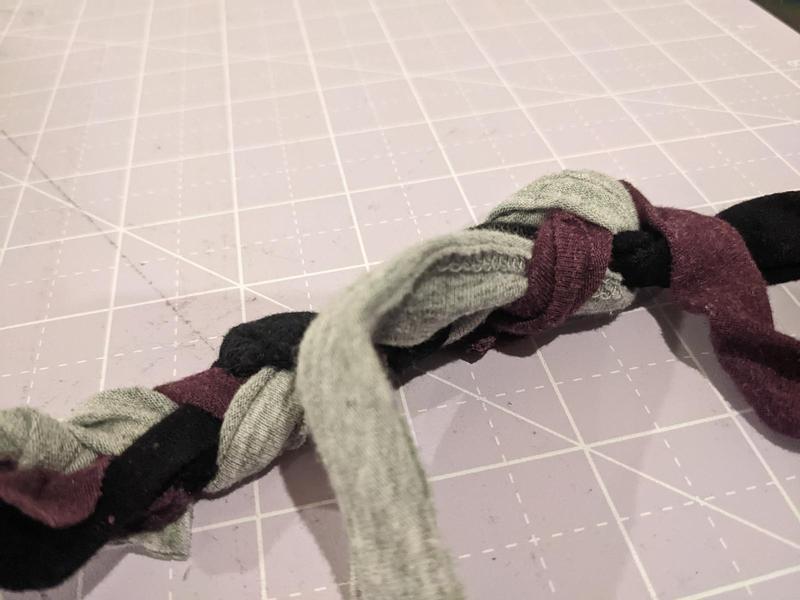
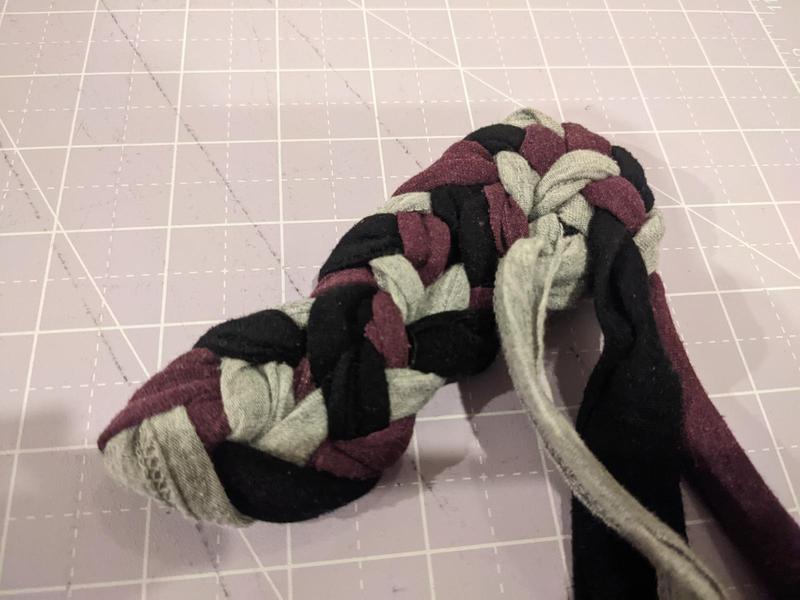
Step 4: Braid, braid, braid
Then, braid! The trickiest part is keeping your long fabric strips from getting too tangled while braiding.
There are two ways to make a braided rug.
Option one: Coil as you go
Coil and braid your braid into the existing braid as you go. This looks amazing with stretchy t-shirt fabric, but I've also made it work with cotton sheets—you just have to make sure you have a slightly looser braid.
Start by making the braid couple inches long. Make it longer if you want an oval rug; shorter if you want a circle.
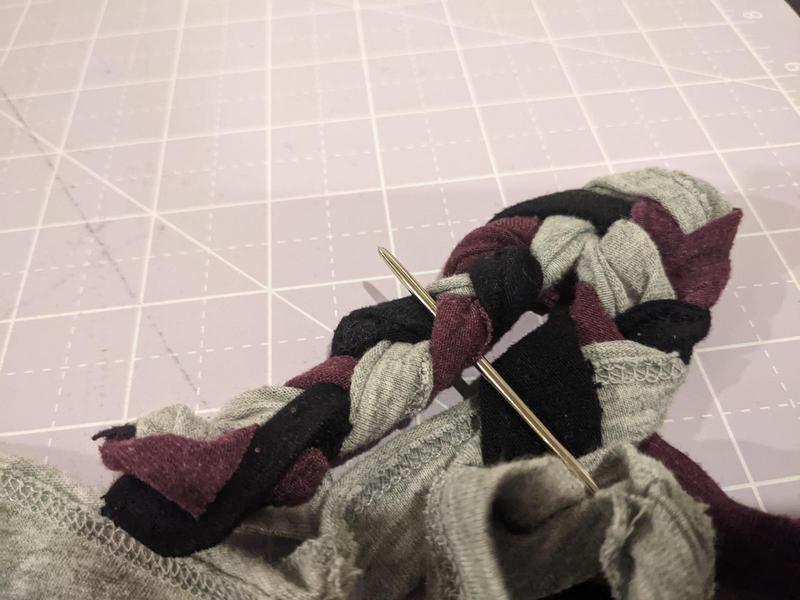
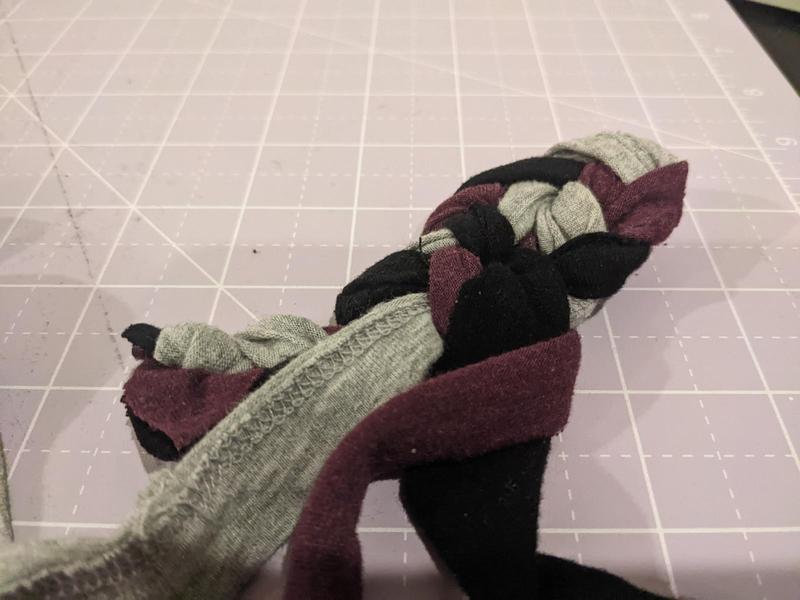
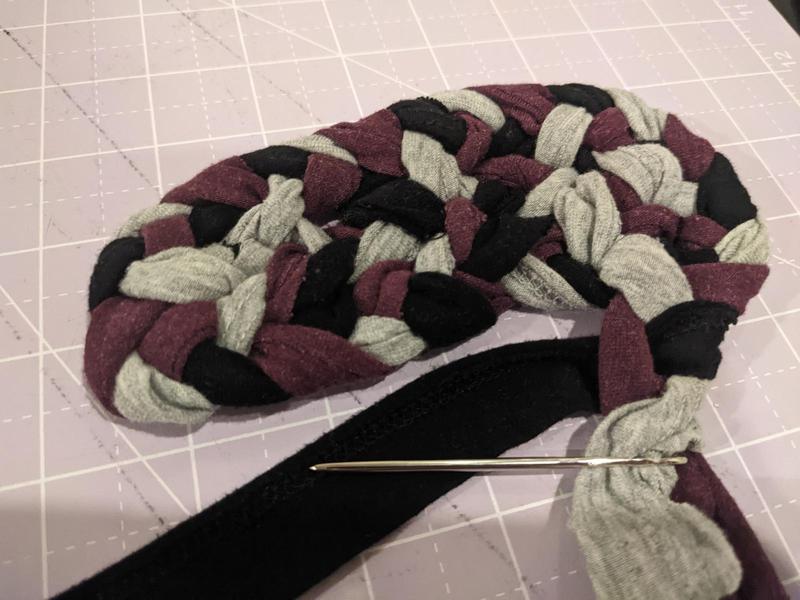
Lay the braid flat. This is the tricky part: all three strands of your braid are going to curve around and braid up the side of the existing braid. Take the inside strand that is about to be braided, and loop it through one of the loops in the existing braid, then continue braiding.
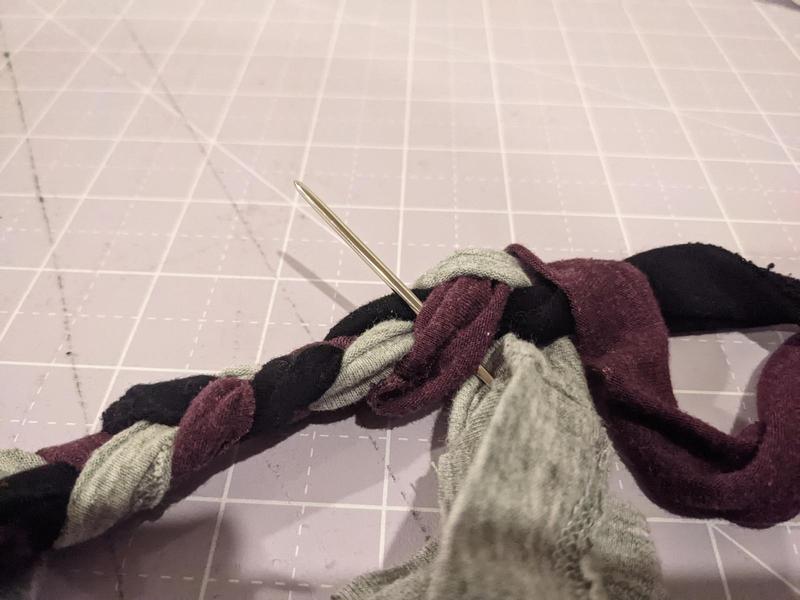
If you have a tighter braid, put a large tapestry needle on the end of one of your fabric strips—this'll make it easier to weave through.
Do that again, and again—loop a strand through the existing braid to attach your braid to the previous braid as you go.
I usually designate one strip the weaving strip, put my tapestry needle on it, and every time it's on the inside edge, loop it through. When I need to attach a new fabric strip (see below), I switch my weaving strip to whichever strip is next in the braiding sequence.
When braiding, take care to keep your rug flat—otherwise you may end up with wrinkles. Or a basket.
Option two: Braid first, coil later.
Make a long braid, then coil and sew it into a rug later. This works well with non-stretchy fabric, like flannel sheets.
Start braiding your three fabric strips. Keep braiding. Add more strips and braid more—see below for tips on adding strips.
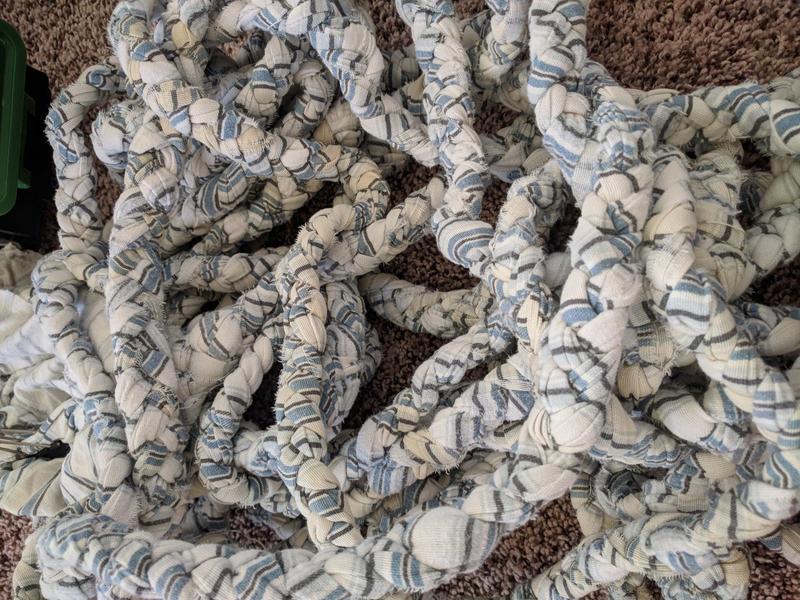
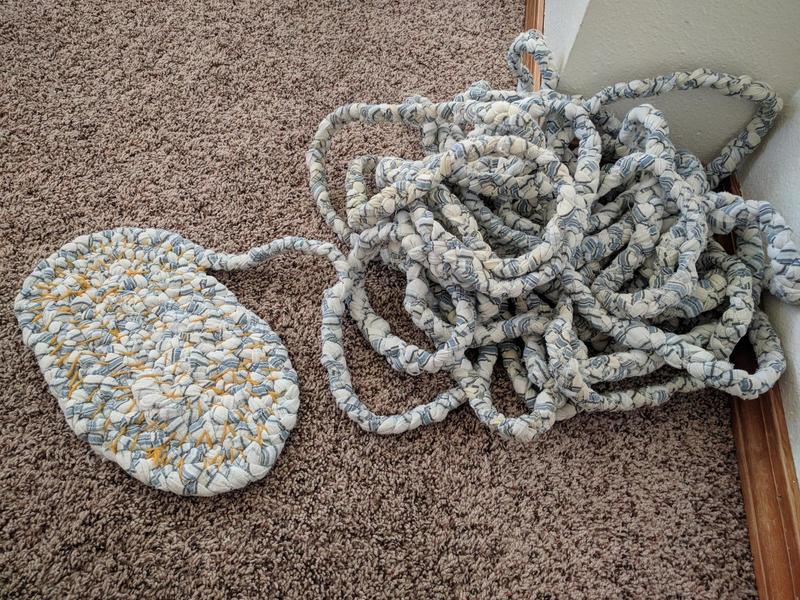
Focus on getting the braid as long as you want. When the braid starts being unwieldy, start coiling and sewing it into a rug; you do not have to be completely finished with the braid first! In fact, I recommend starting the rug before you're done braiding all of your fabric strips, because otherwise, you'll end up with a big tangled braid pile.
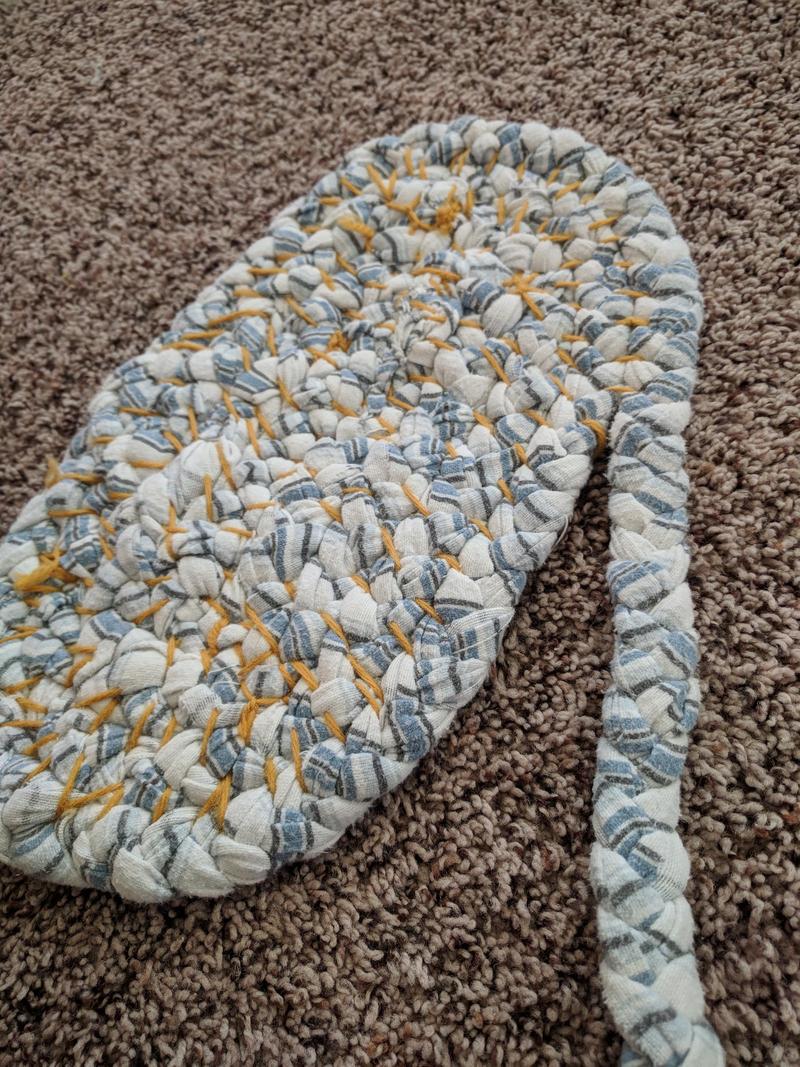
To coil: Put a length of string on a tapestry needle. Tie the end of the string to the very beginning of your braid. Start coiling the braid, like a snake. Weave the string through the loops along the inside edges of the coil to hold it together. When you run out of string, tie it off on a loop and continue with a new string.
Step 5: Add more fabric strips and keep braiding
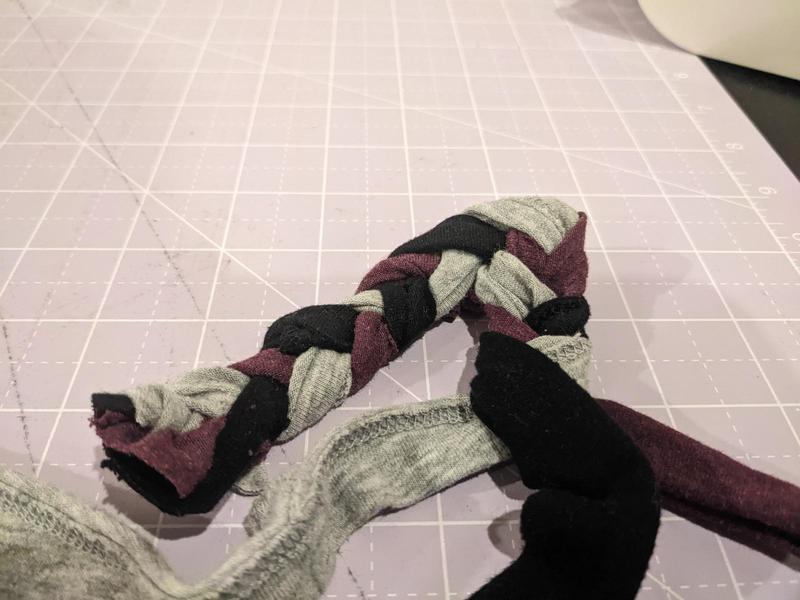
Overlap method: When you are almost finished with one strip, take another strip from your stash and overlap it with the strip that is ending. You can wrap one around the other so that they stay connected; the braid will hold it all together and you don't have to worry about the braid coming apart at that point. This works well if you are making one long braid and coiling later.
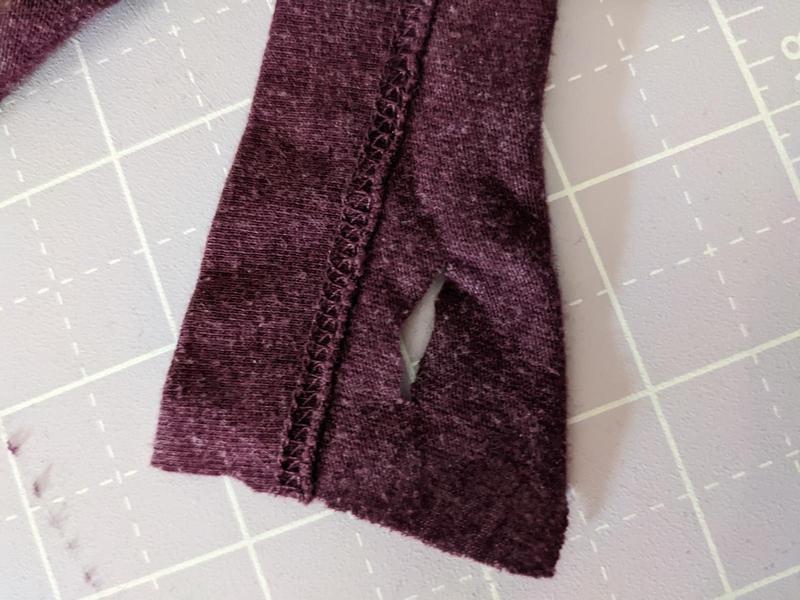
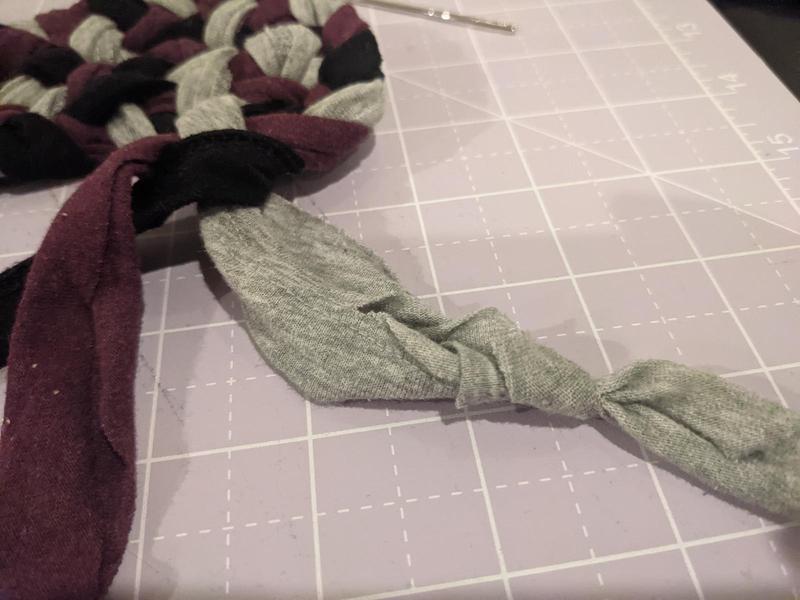
Holes method: Fold the end of the strip in half along the length of the strip. Cut part way through the fold, making a small hole. Do the same with one end of the new strip.
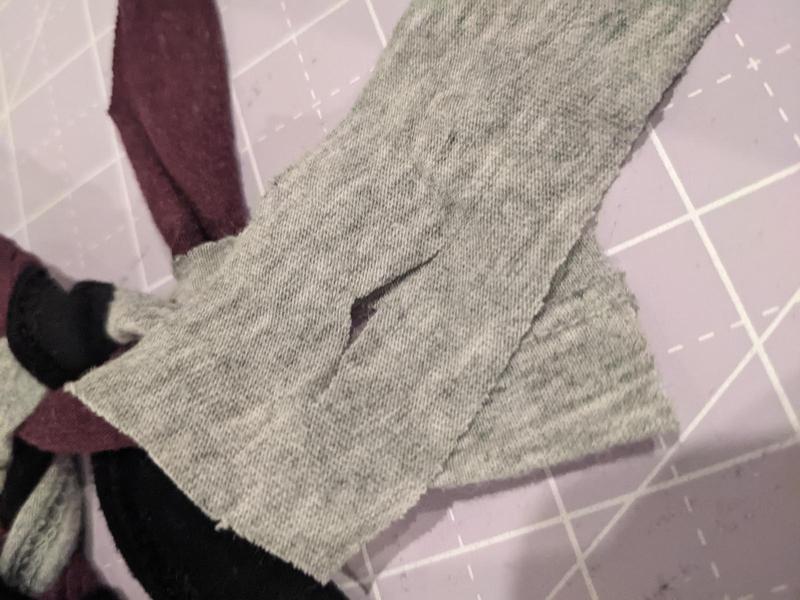
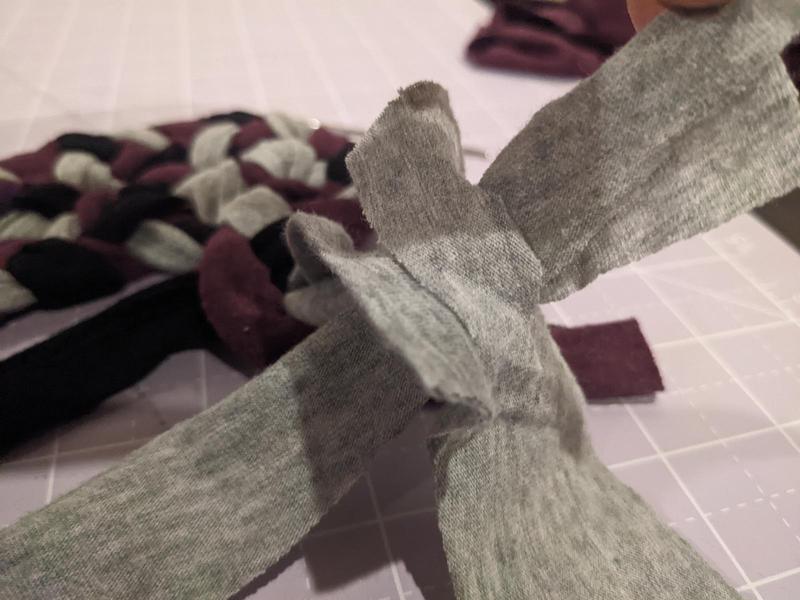
Take the other end of the new strip, push it through the ending strip's hole, then through the new strip's hole, and pull through all the way. Now the new strip is looped onto the old one! This is my preference for adding new strips. It works best with thinner or stretchy fabrics.
If all your strips look like they will end at the same time, it is worthwhile to cut one or two of them shorter, because when you overlap to start the next strip, the braid gets bulkier. It looks nicer when you spread out the bulk.
Step 6: End the braid
To end the braid, cut the last three strips so they taper to points, getting skinnier and skinnier. Cut all three strips so they end at the same point. Sew that last bit together, and sew it the side of the rug, tucking in the end so it's less visible.
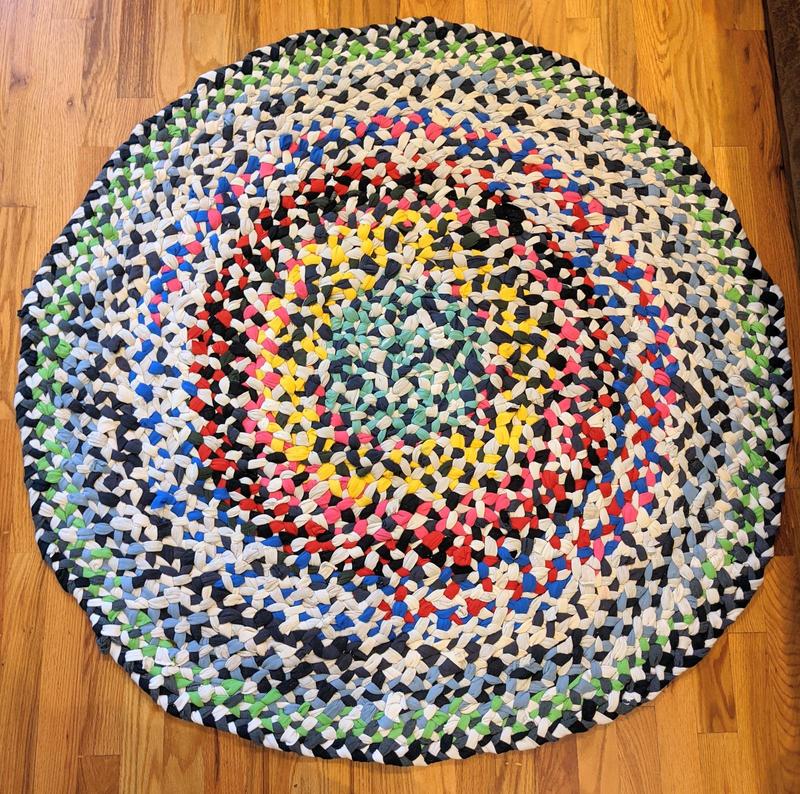
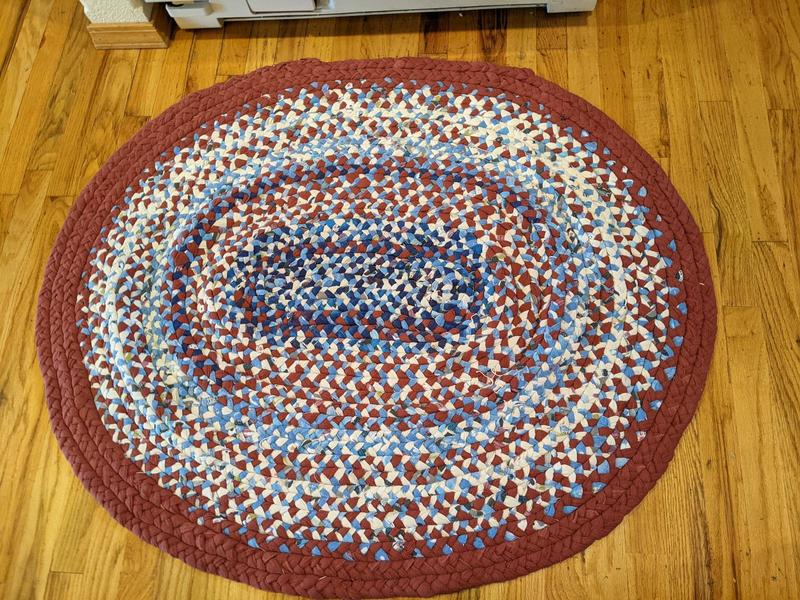
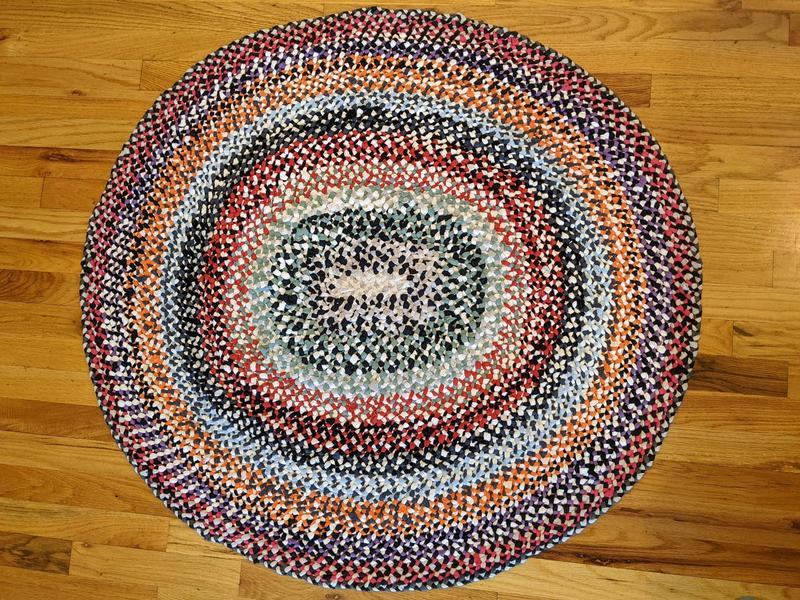
And ta-da! You have a rug!

Why Idaho Needs a Victory Garden Tax Credit